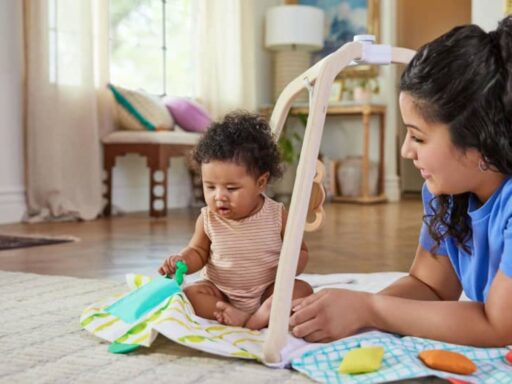
Smart play gyms promise data driven insights into infant development, but are they truly worth the price. Here is a practical look at benefits, drawbacks, and how parents can decide what fits their routine.
Master tummy time in the digital age with our step-by-step guide. Use smart tools and high-contrast apps to stop the fussing and boost your baby’s development.
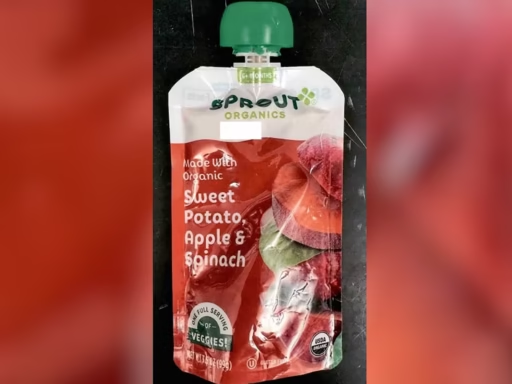
WanaBana, Schnucks, and Weis recall cinnamon applesauce pouches sold in 28 states due to dangerous lead levels. Learn the health risks and what parents should do.
This article explores the common but often undiscussed mental health challenges new parents face in the US, including postpartum depression and anxiety.
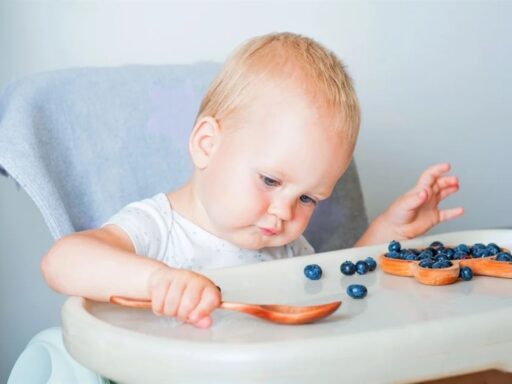
A new study reveals that feeding babies wild blueberry powder can reduce allergy-like symptoms and promote a balanced immune system by improving gut health.
Child care advocates grapple with a new challenge: public and political belief that recent funding has solved all issues, leaving deeper problems ignored.
Discover effective, easy ways to stimulate your newborn's brain development at home. Learn about essential activities, sensory play, and creating a nurturing environment.