
The Rise of the Smart Nursery Is a High-Tech Play Gym Worth It
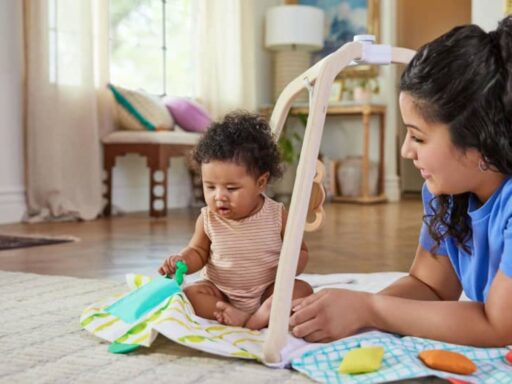
Smart play gyms promise data driven insights into infant development, but are they truly worth the price. Here is a practical look at benefits, drawbacks, and how parents can decide what fits their routine.