
Installing a baby car seat correctly is one of those things every parent knows is important, but it can feel a bit daunting. The truth is, a properly installed car seat drastically lowers the risk of injury if you’re ever in a crash. Yet, surprisingly, studies show that a large number of car seats are installed incorrectly, which makes having clear guidance all the more essential.
Why Correct Installation Really Matters
The forces involved in a crash are intense — way more than we often imagine. If a car seat isn’t installed properly, it might not protect your child as it should. There’s a real risk the child could be ejected or get seriously hurt by hitting parts inside the car. Even a small mistake in installation can reduce how well the seat works, so it’s worth paying close attention.
Different Types of Baby Car Seats
Before you dive into installation, it helps to know what kind of car seat you’re dealing with:
- Infant Car Seats: These are designed just for newborns and small babies. They’re always rear-facing and usually come with a base you leave in the car, making it easy to click the carrier in and out.
- Convertible Car Seats: These versatile seats start rear-facing for infants and toddlers, then flip to forward-facing as your child grows.
- All-in-One Car Seats: Kind of like convertible seats, but they can also turn into booster seats when your child is ready.
- Booster Seats: For kids who have outgrown forward-facing seats. These raise your child so the car’s seat belt fits safely across their body.
A quick but important note: Always double-check the height and weight limits on your seat’s label. Kids should stay rear-facing as long as possible — usually until they hit the seat’s max weight or height, which is often around age two or more.
Getting Ready: General Steps Before Installation
No matter which car seat you have, these prep steps are critical:
- Read the Manuals: Seriously, don’t skip this. Your car seat manual and your vehicle’s owner manual both have crucial instructions tailored to your exact models.
- Check for Recalls and Expiration: Car seats don’t last forever. They usually expire between 6 and 9 years from the manufacture date. Also, make sure your seat hasn’t been recalled.
- Pick the Safest Spot: Usually, the middle of the back seat is best—it’s the furthest from side impacts. But if you can’t get a secure install there, the side seats are acceptable. And never install a car seat in the front passenger seat if your car has active airbags.
- Park on Level Ground: This makes it easier to get the seat at the right angle and properly tightened.
Installation Methods: LATCH vs. Seat Belt
You have two main ways to install a car seat: the LATCH system or your vehicle’s seat belt. You generally want to use one or the other—not both—unless both manuals explicitly say otherwise (which is pretty rare).
Method 1: Installing with the LATCH System
LATCH stands for Lower Anchors and Tethers for Children. It’s designed to make installation easier and more secure without relying on seat belts.
What’s involved?
- Lower Anchors: Two metal bars hidden in the crease between your car seat’s backrest and bottom cushion.
- Tether Anchor: A metal point usually at the back of the seat, rear deck, or floor/ceiling in vans and SUVs. The tether is for forward-facing seats only.
Rear-Facing Installation with LATCH (Infant or Convertible Seats):
- Locate the lower anchors—they often have little symbols nearby.
- Attach your car seat’s lower connectors (hooks or clips) firmly until you hear a click. Give them a tug to make sure they’re locked.
- Adjust the recline angle. This is super important for your baby’s airway. Most infant seats have an adjustable foot or indicator. Use the built-in level (like a bubble or line) to check it. If allowed by your manual, you might use a rolled towel or pool noodle to help get the angle right.
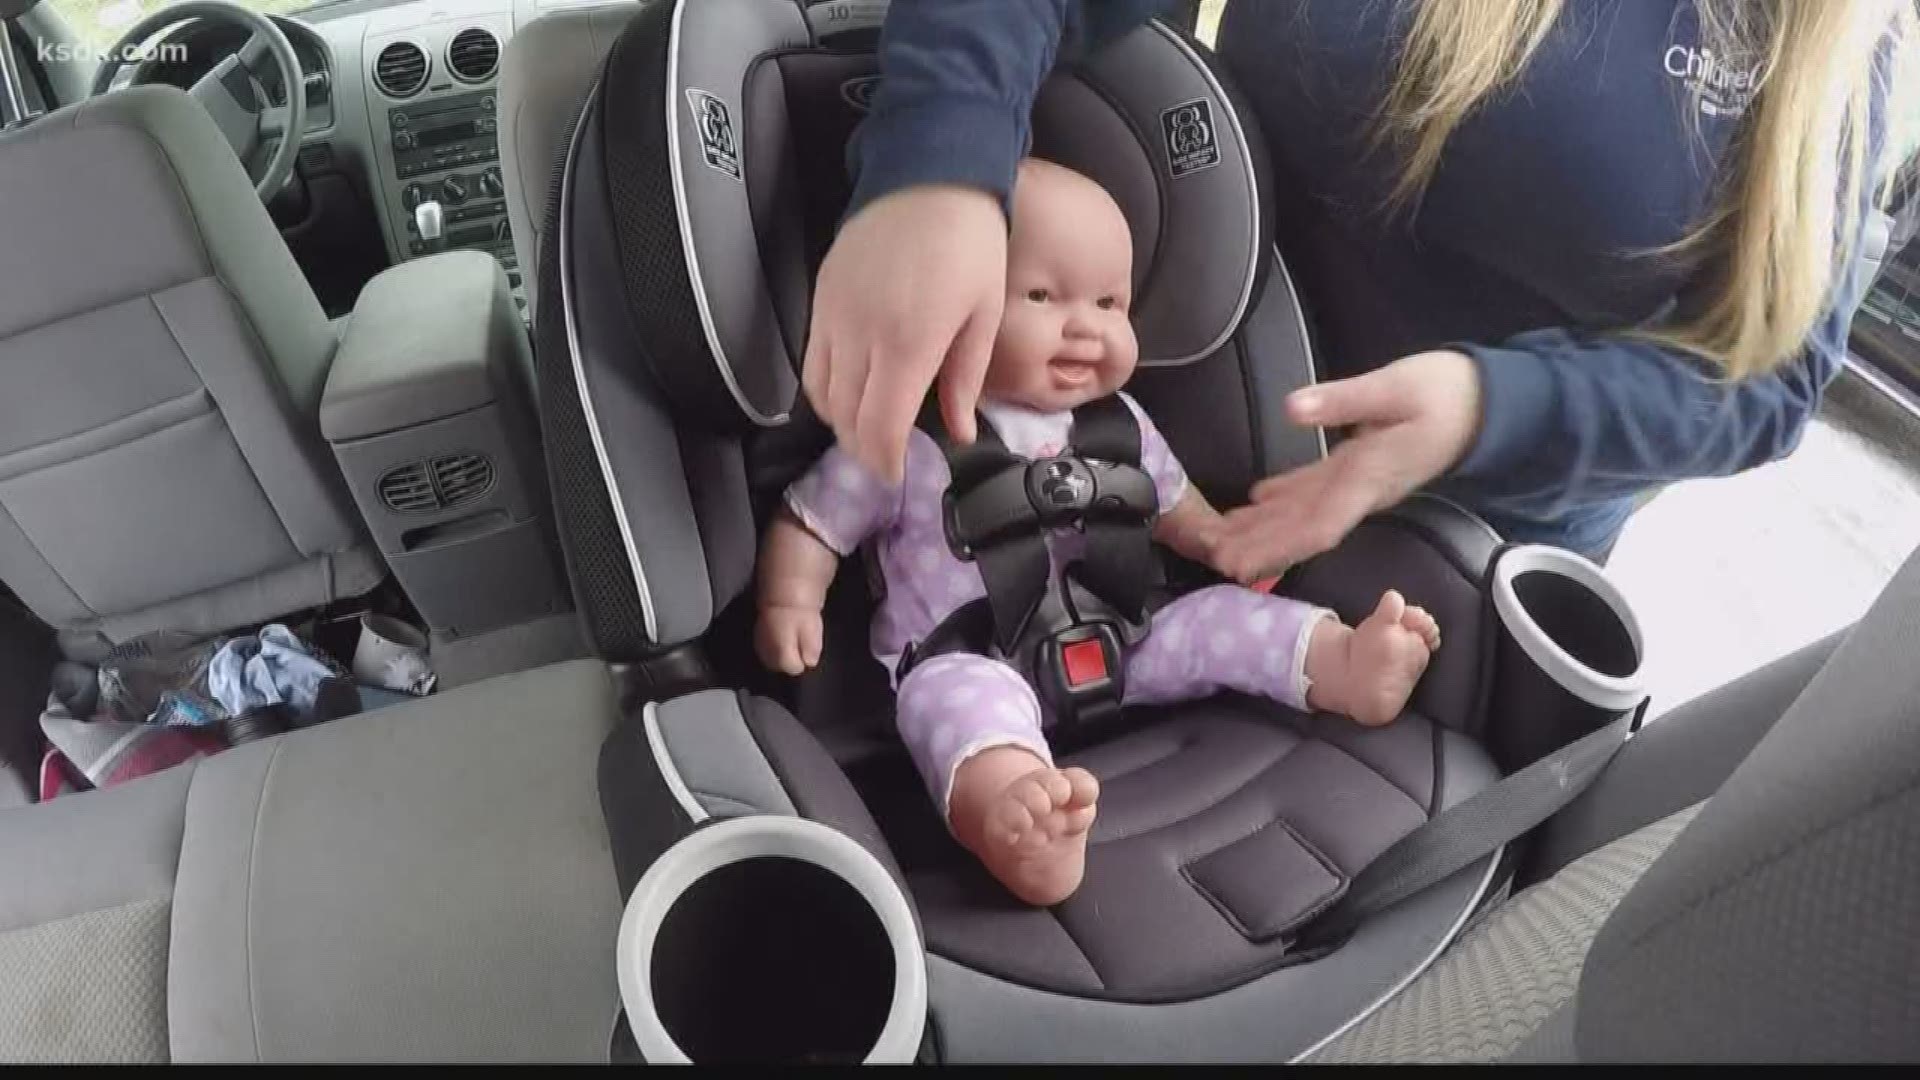
- Tighten the straps. Press down firmly on the seat or base while pulling the LATCH straps tight to remove any slack.
- Perform the “inch test.” Grab the seat at the belt path and try to move it side to side and front to back. It shouldn’t move more than an inch. If it does, tighten those straps some more.
Forward-Facing Installation with LATCH (Convertible or All-in-One Seats):
- Find both the lower anchors and the top tether anchor.
- Attach the lower connectors securely.
- Press down and tighten the lower straps.
- Attach and tighten the top tether strap over the back of the seat to the tether anchor, pulling it snug to reduce your child’s head movement in a crash.
- Do the inch test again to make sure it’s tight.
Method 2: Installing with the Vehicle’s Seat Belt
If your vehicle doesn’t have LATCH where you want to install the seat, or if your child or seat exceeds the LATCH weight limits, the seat belt method is the way to go.
Rear-Facing Seat Belt Installation:
- Route the vehicle’s lap and shoulder belts through the rear-facing belt path on your car seat (usually marked in blue).
- Buckle the seat belt.
- Lock the seat belt. This is a critical step. Most modern seat belts have locking mechanisms for car seats:
- Automatic Locking Retractor (ALR): Pull the shoulder belt all the way out until you hear clicks, then let it retract—this locks it tight.
- Switchable Retractor: Some older cars require pulling the belt all the way out and then slowly feeding it back while holding tight.
- Manual Locking Clip: Rare now, but some older setups use a metal clip to keep the belt tight.
- Built-in Lock-off Devices: Many newer car seats have clamps that lock the belt automatically.
- Adjust the recline angle using the level indicator and, if allowed, a towel or pool noodle.
- Tighten by pressing down firmly on the seat while pulling the shoulder belt tight.
- Perform the inch test to confirm minimal movement.
Forward-Facing Seat Belt Installation:
- Route the belt through the forward-facing belt path (usually marked in red).
- Buckle the seat belt.
- Lock the belt using the appropriate method.
- Tighten the belt firmly.
- Attach and tighten the top tether to the vehicle’s tether anchor.
- Do the inch test again.
Securing Your Child in the Car Seat
Once your seat is installed well, the next key step is making sure your child is buckled in properly:
- Harness height: For rear-facing seats, straps should be at or just below the shoulders. For forward-facing, they should be at or just above.
- Snug harness: Pull straps tight enough that you can’t pinch any slack at the collarbone. Straps should lie flat, no twists.
- Chest clip: Position it at armpit level to keep straps in place.
- Check the buckle: Make sure it’s not tucked under or uncomfortable.
When to Get a Professional Check
Even if you follow all the steps carefully, car seat installation can be tricky. If you’re ever unsure, or just want peace of mind, consider having a certified Child Passenger Safety Technician (CPST) inspect your installation.
- You can find CPSTs through organizations like Safe Kids Worldwide (U.S.) or local safety groups.
- Many fire stations, hospitals, or police departments hold free car seat check events.
Getting your baby’s car seat installed right might seem like a lot of work, but it’s absolutely worth it. Following these steps—and referring back to your manuals—will help keep your little one as safe as possible on every ride.