Benjamin Noah, a graduate in Pediatrics from Harvard Medical School, has more than 15 years of experience working as a pediatrician and child health advisor. He founded Baby Play Gym in 2015 to provide parents with reliable information about baby care and play. His expertise includes infant wellness, safe toy selection, and early childhood development. He has been recognized by the American Academy of Pediatrics for his contributions to parenting education. Outside work, Benjamin enjoys writing, hiking with his family, and supporting local parenting groups. At Baby Play Gym, he leads the editorial vision and ensures the website maintains expert-backed credibility.
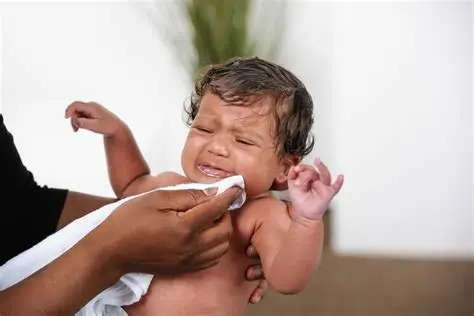
Learn how to handle baby vomiting after feeding, differentiate it from spit-up, and know when to seek medical attention. Essential tips for new parents.
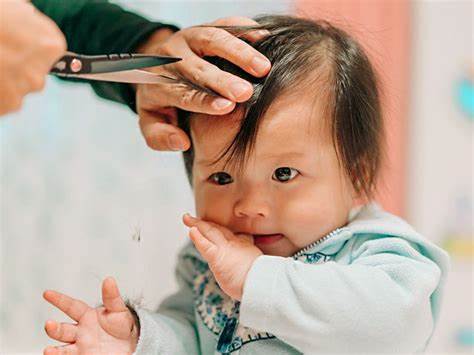
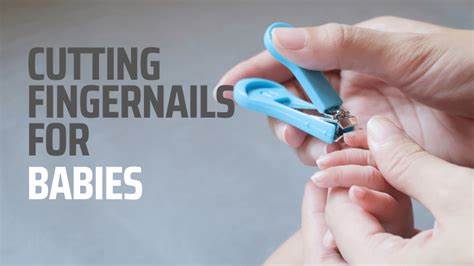
Learn how to trim baby nails safely and easily without nicks or tears. Discover effective tools, timing tips, and step-by-step guidance for stress-free nail care.
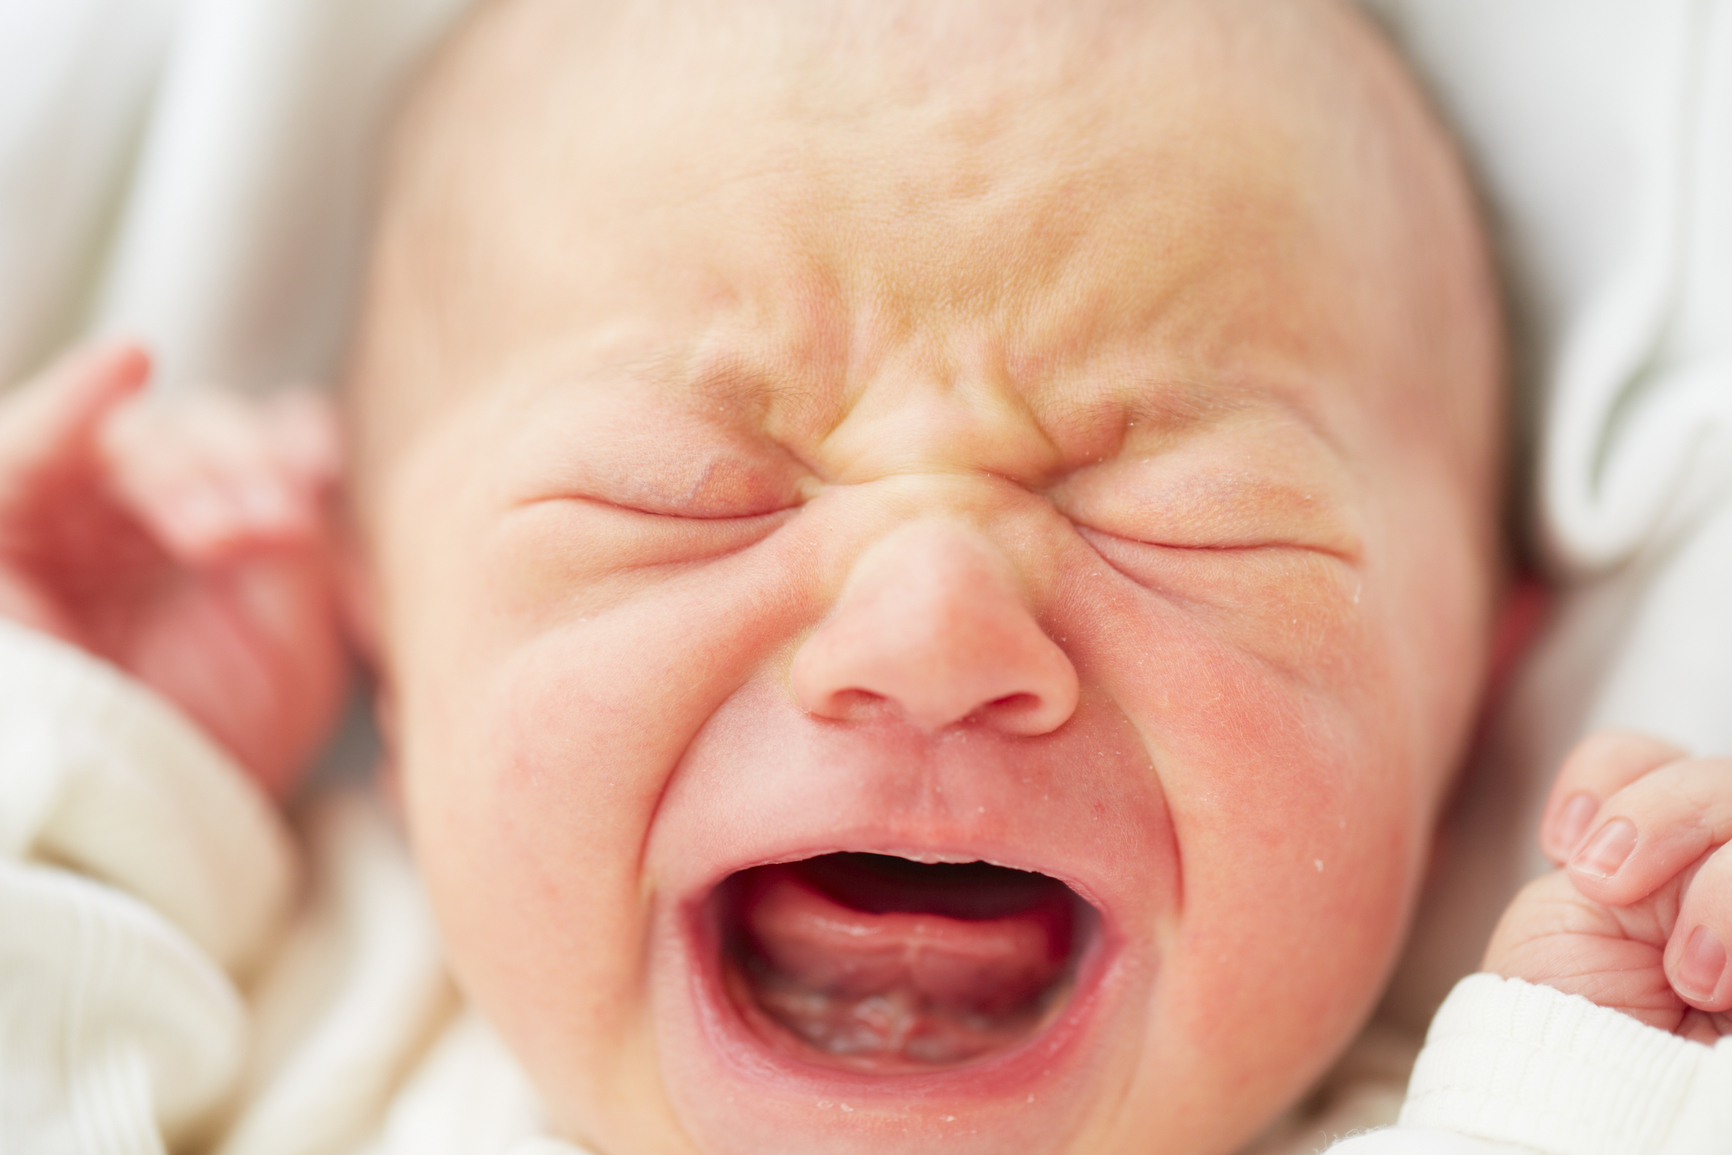
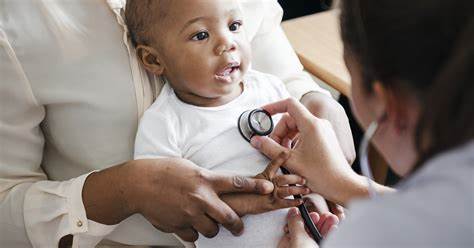
Learn how to keep your baby's health in check with this comprehensive guide. Discover essential tips for routine care, recognizing illness, and ensuring well-being.
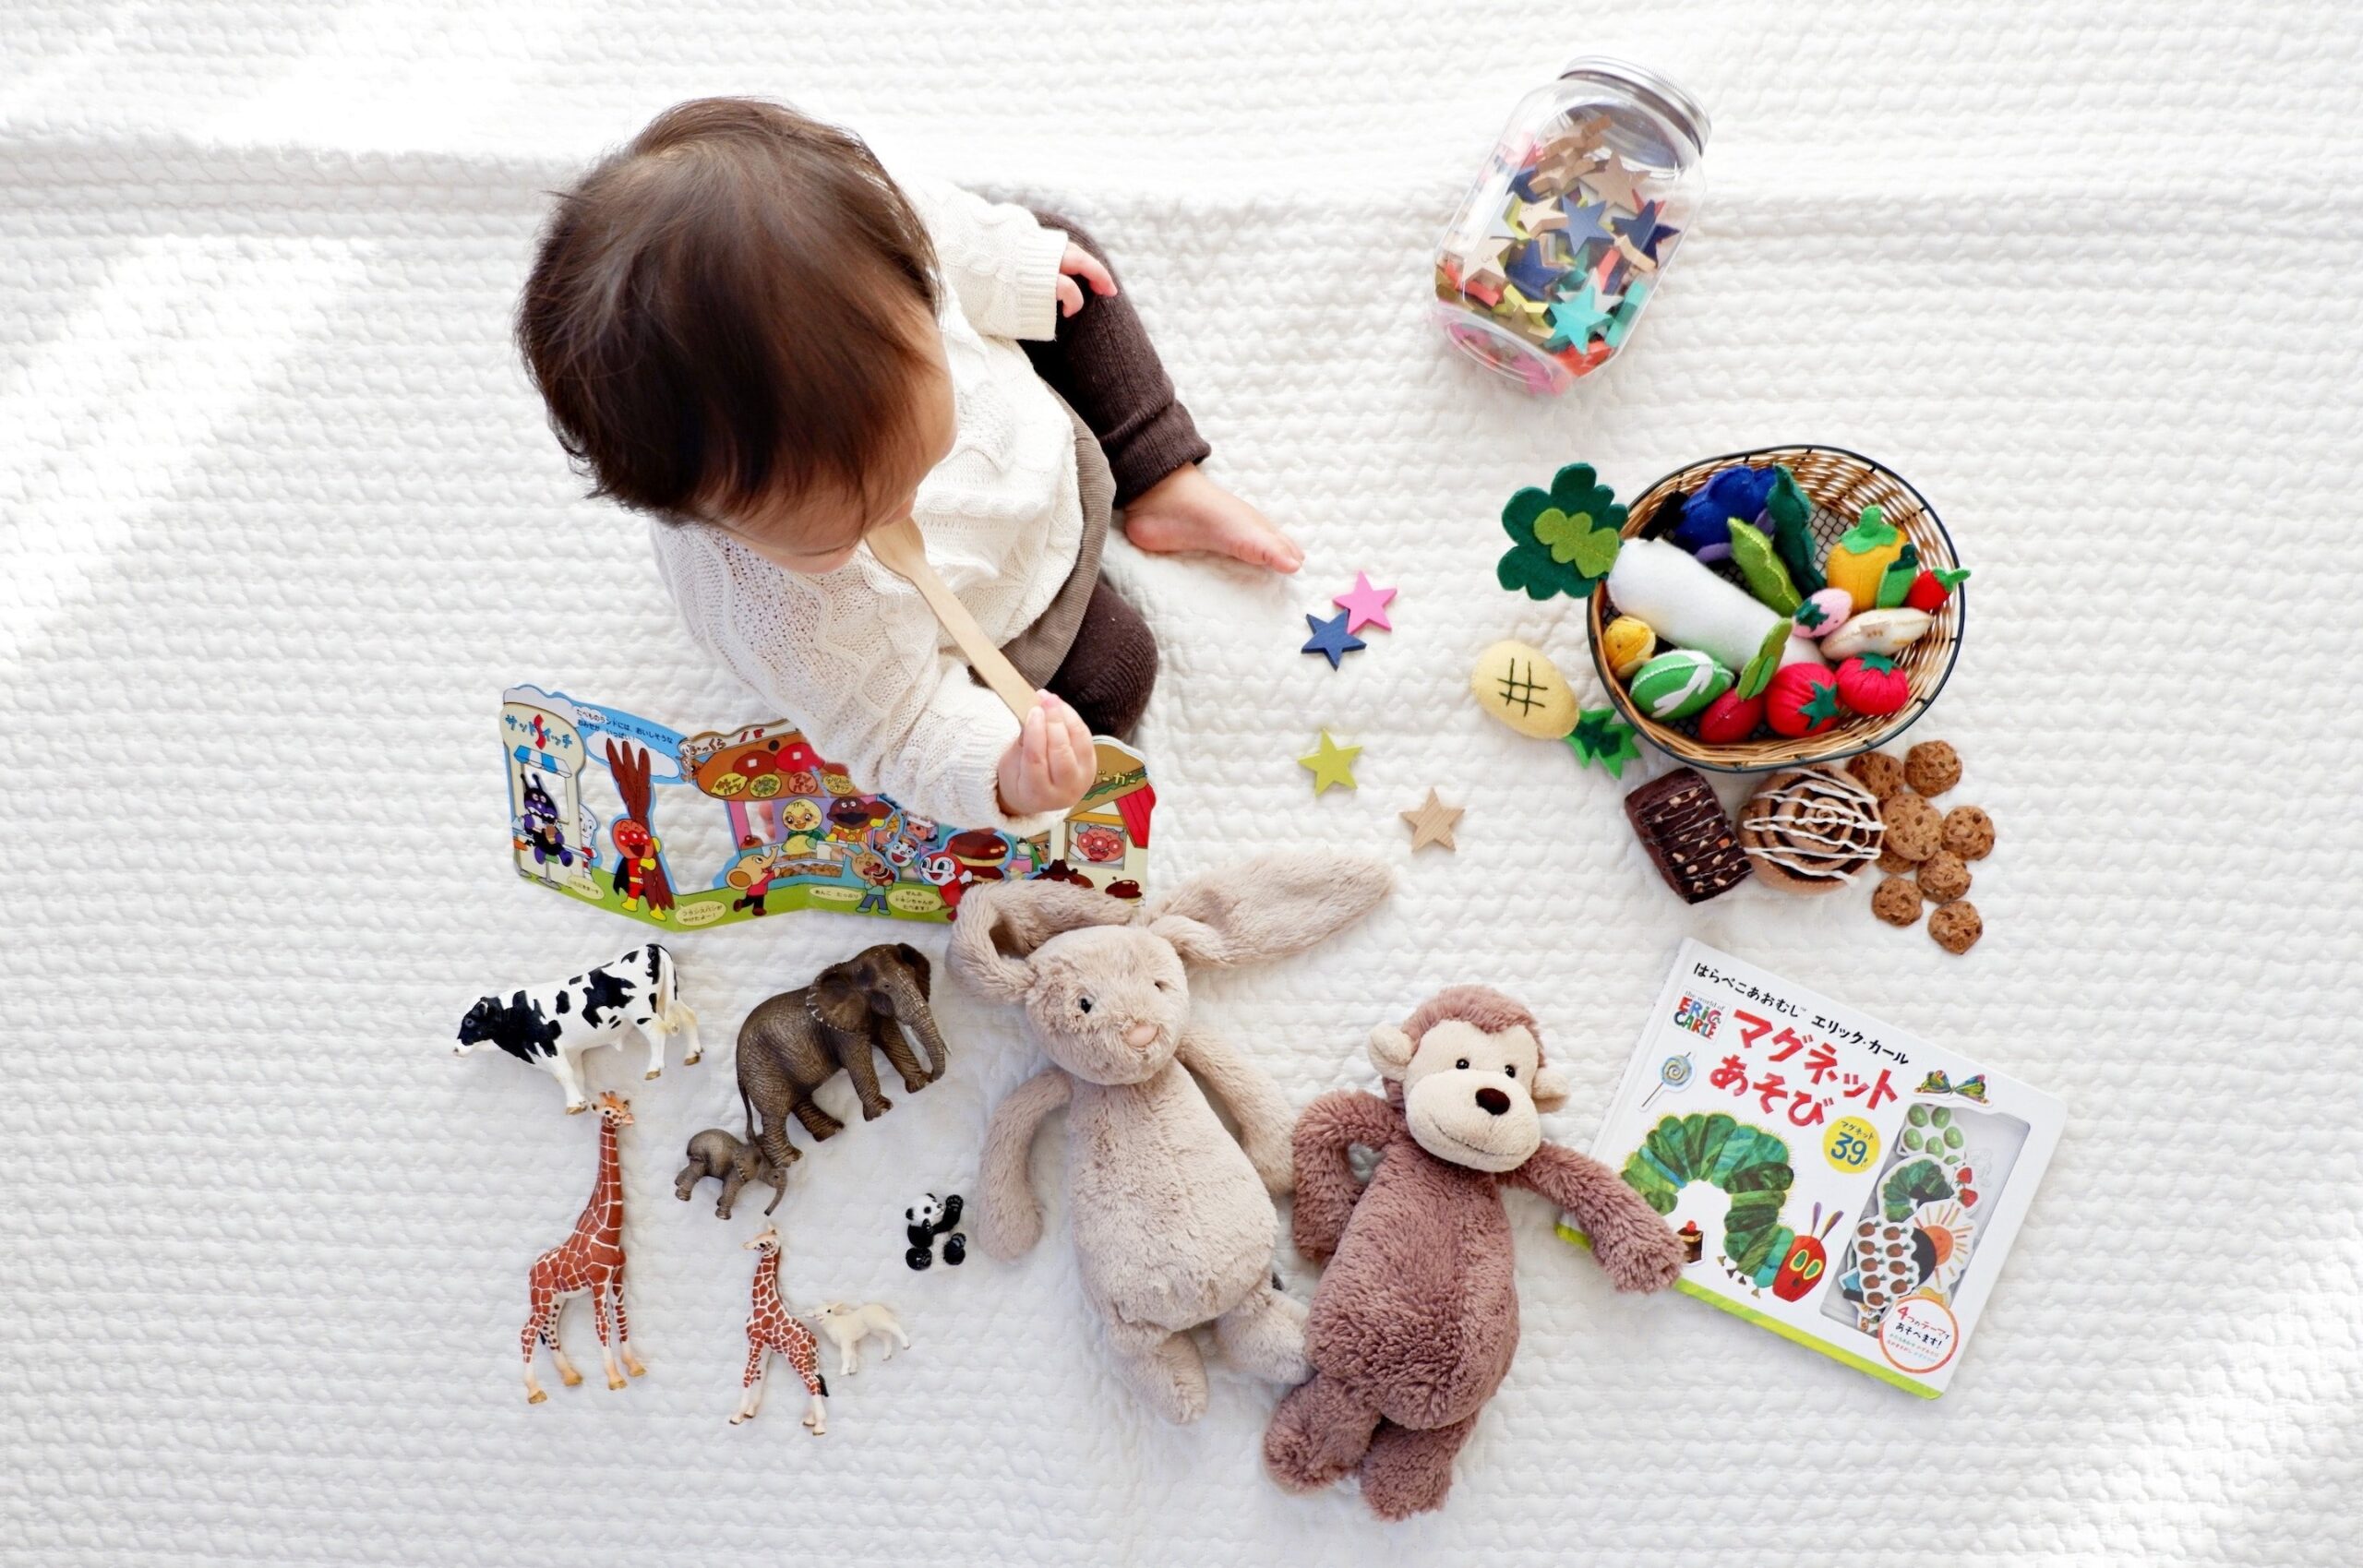
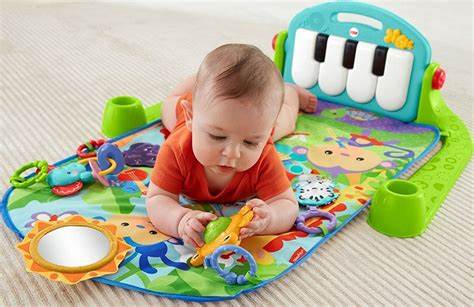
Learn how to play with a baby to boost brain development. Our guide offers age-appropriate activities for newborns to 12-month-olds to build cognitive skills.
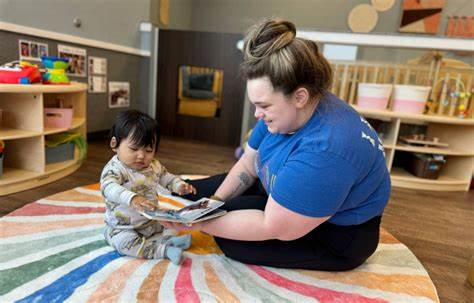
Discover effective, research-backed ways to support your baby's language development from birth through simple daily interactions and engaging activities.