Baby Play Gym
Baby Play Gym
Baby Play Gym
What are You Looking for?
Search
Blog
BUSINESS
Crypto
EDITORIAL
ENTERTAINMENT
HEALTH
Home
TECH
Home
EDITORIAL
Page 2
EDITORIAL
41 posts
By
Benjamin Noah
June 16, 2025
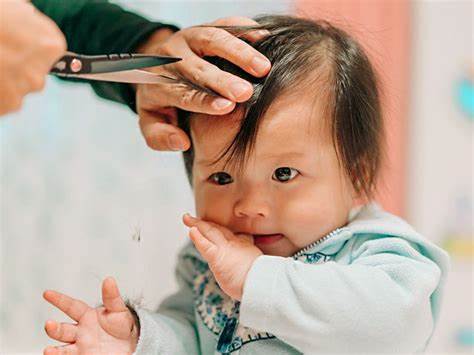
How to Cut 2 Year or 3 year Old Baby Hair
EDITORIAL
By
Benjamin Noah
June 14, 2025
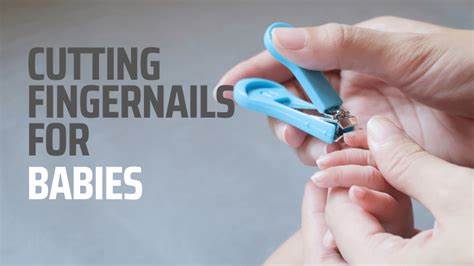
How to Trim Baby Nails Without Hurting Them
EDITORIAL
By
James Williams
June 12, 2025
How to Relieve Gas in Baby Stomach
EDITORIAL
By
Benjamin Noah
June 10, 2025
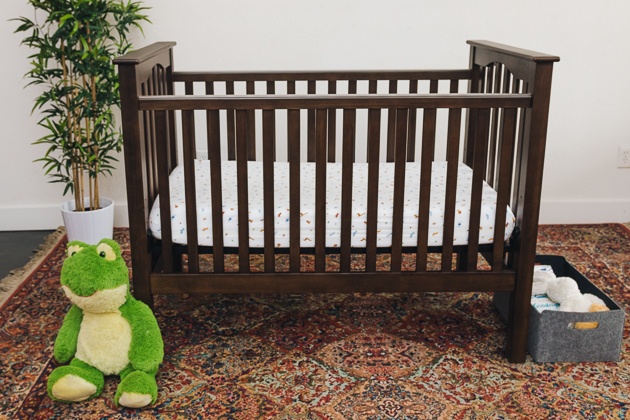
how to choose the safest crib for baby
EDITORIAL
By
Benjamin Noah
June 9, 2025
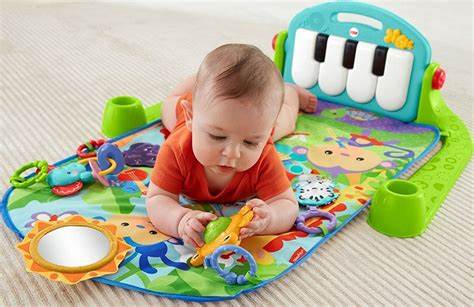
How to Ensure Baby Brain Development
EDITORIAL
By
Lucas Smith
June 7, 2025
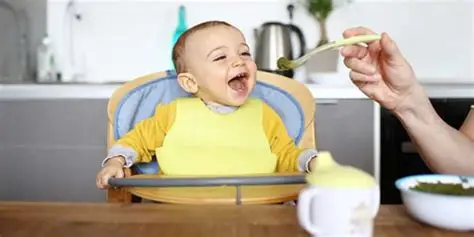
How to Introduce Solid Food to Baby Safely
EDITORIAL
By
Lucas Smith
June 6, 2025
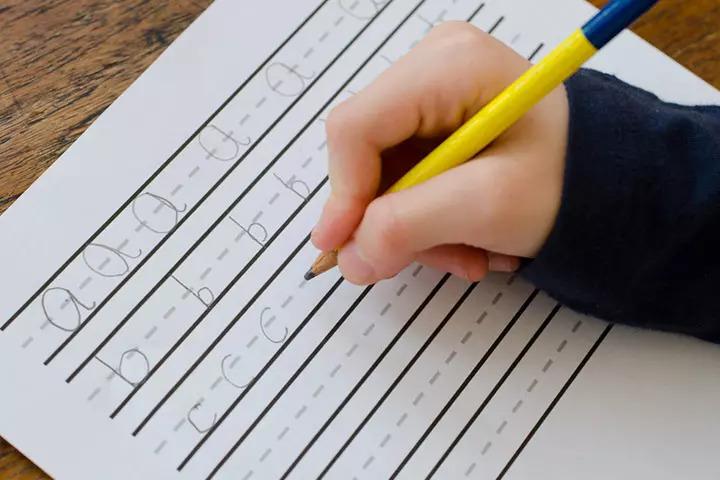
How to Improve Handwriting for Kids
EDITORIAL
By
Benjamin Noah
June 4, 2025
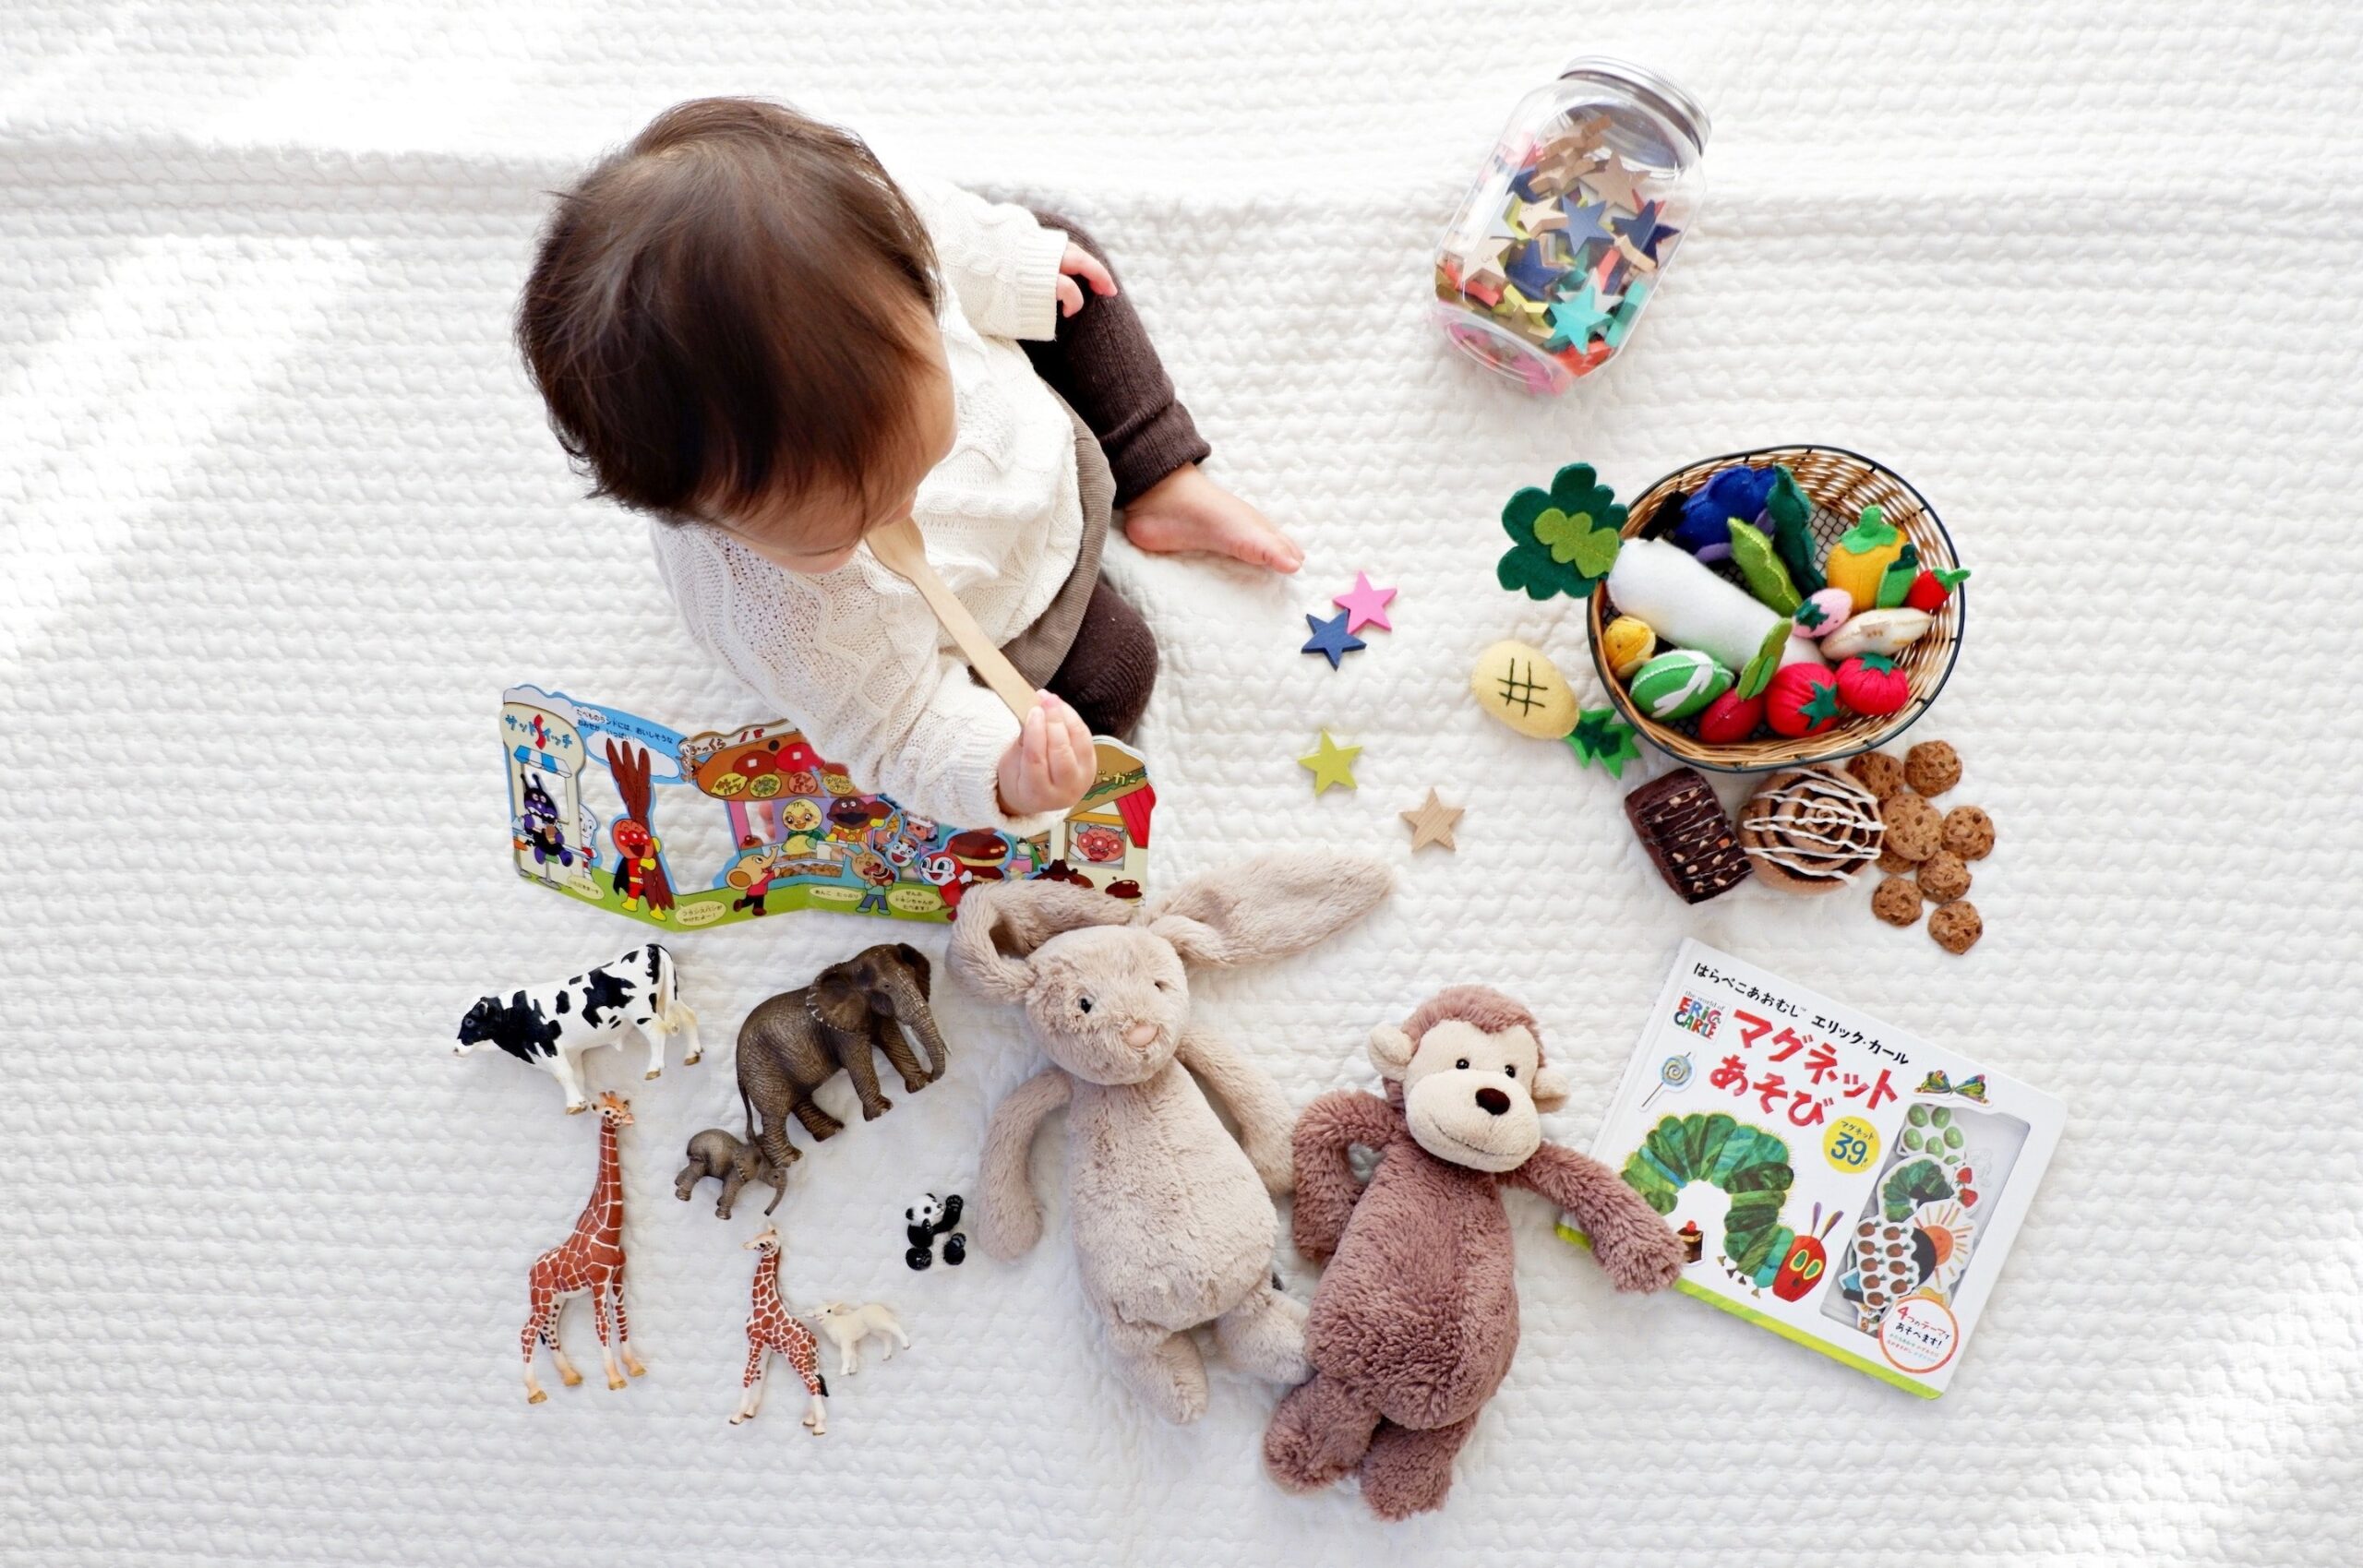
How to Play with a Baby to Boost Brain Development
EDITORIAL
By
Benjamin Noah
June 2, 2025
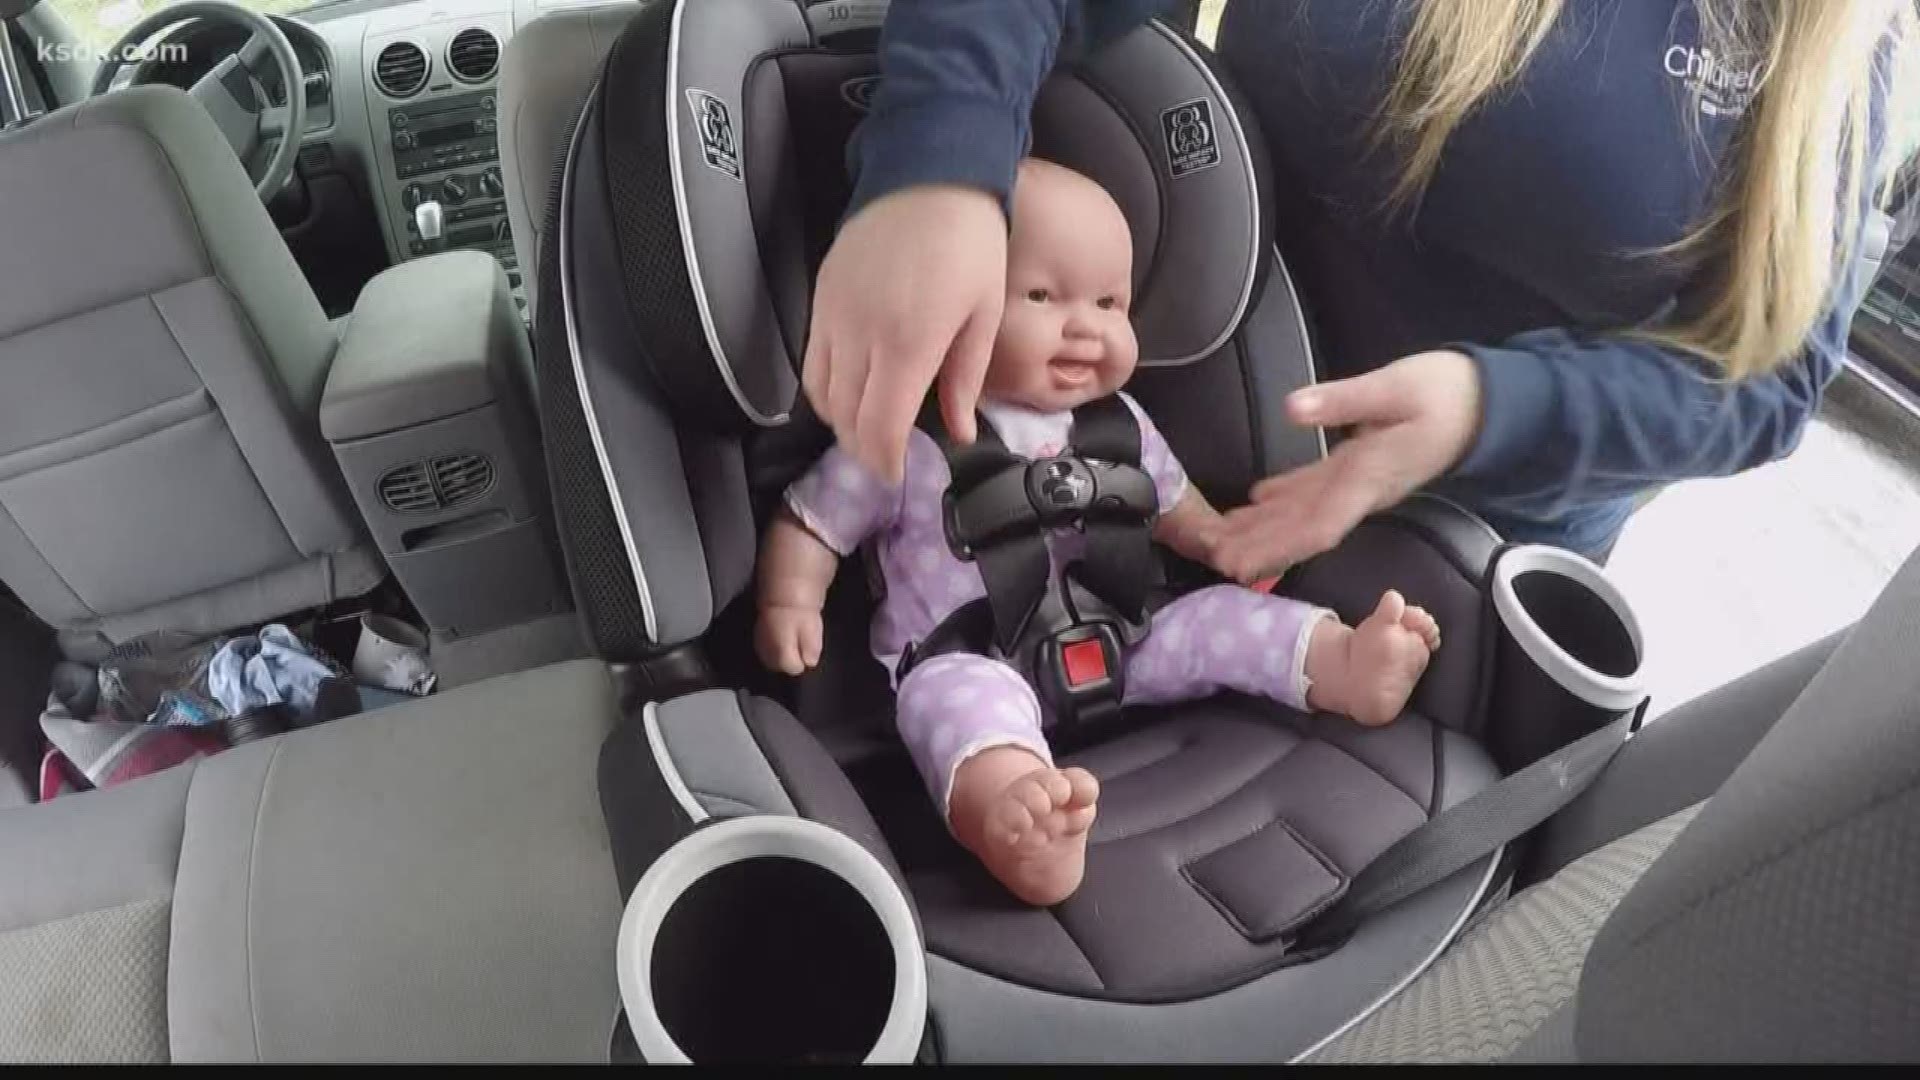
How to Install a Baby Car Seat Correctly
EDITORIAL
By
Benjamin Noah
May 30, 2025
How to Choose Age-Appropriate Toys for a Baby
EDITORIAL