Baby Play Gym
Baby Play Gym
Baby Play Gym
What are You Looking for?
Search
Blog
BUSINESS
Crypto
EDITORIAL
ENTERTAINMENT
HEALTH
Home
TECH
Home
EDITORIAL
Page 3
EDITORIAL
41 posts
By
Benjamin Noah
May 29, 2025
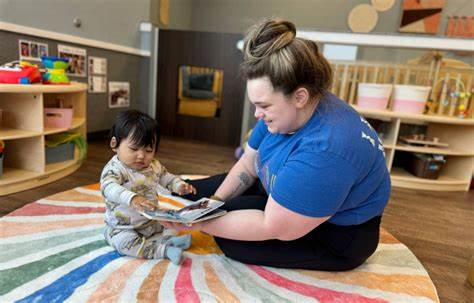
How to Support Baby’s Language Development
EDITORIAL
By
Benjamin Noah
May 22, 2025
How to Hold a Baby with Proper Support
EDITORIAL
By
Benjamin Noah
May 19, 2025
How to Bond with your Baby in the First Month
EDITORIAL
Uncategorized
By
Benjamin Noah
May 16, 2025
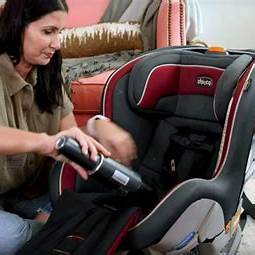
How to Clean Baby Car Seat Fabric
EDITORIAL
By
Benjamin Noah
May 13, 2025
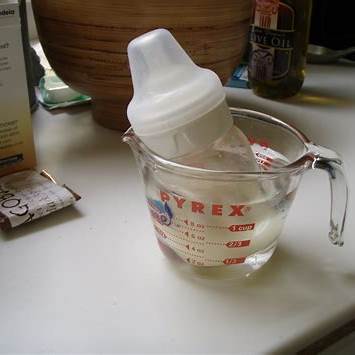
How to Warm Baby Milk Without a Microwave
EDITORIAL
By
James Williams
May 6, 2025
How to Breastfeed a Baby
EDITORIAL
By
Benjamin Noah
May 5, 2025
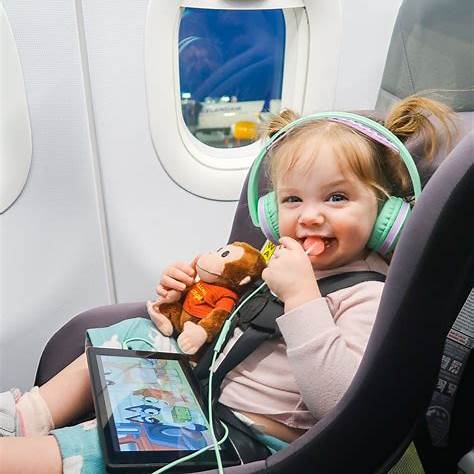
How to Travel With a Baby on a Plane
EDITORIAL
By
James Williams
May 4, 2025
How to Tell if Baby Has a Fever
EDITORIAL
By
James Williams
April 26, 2025
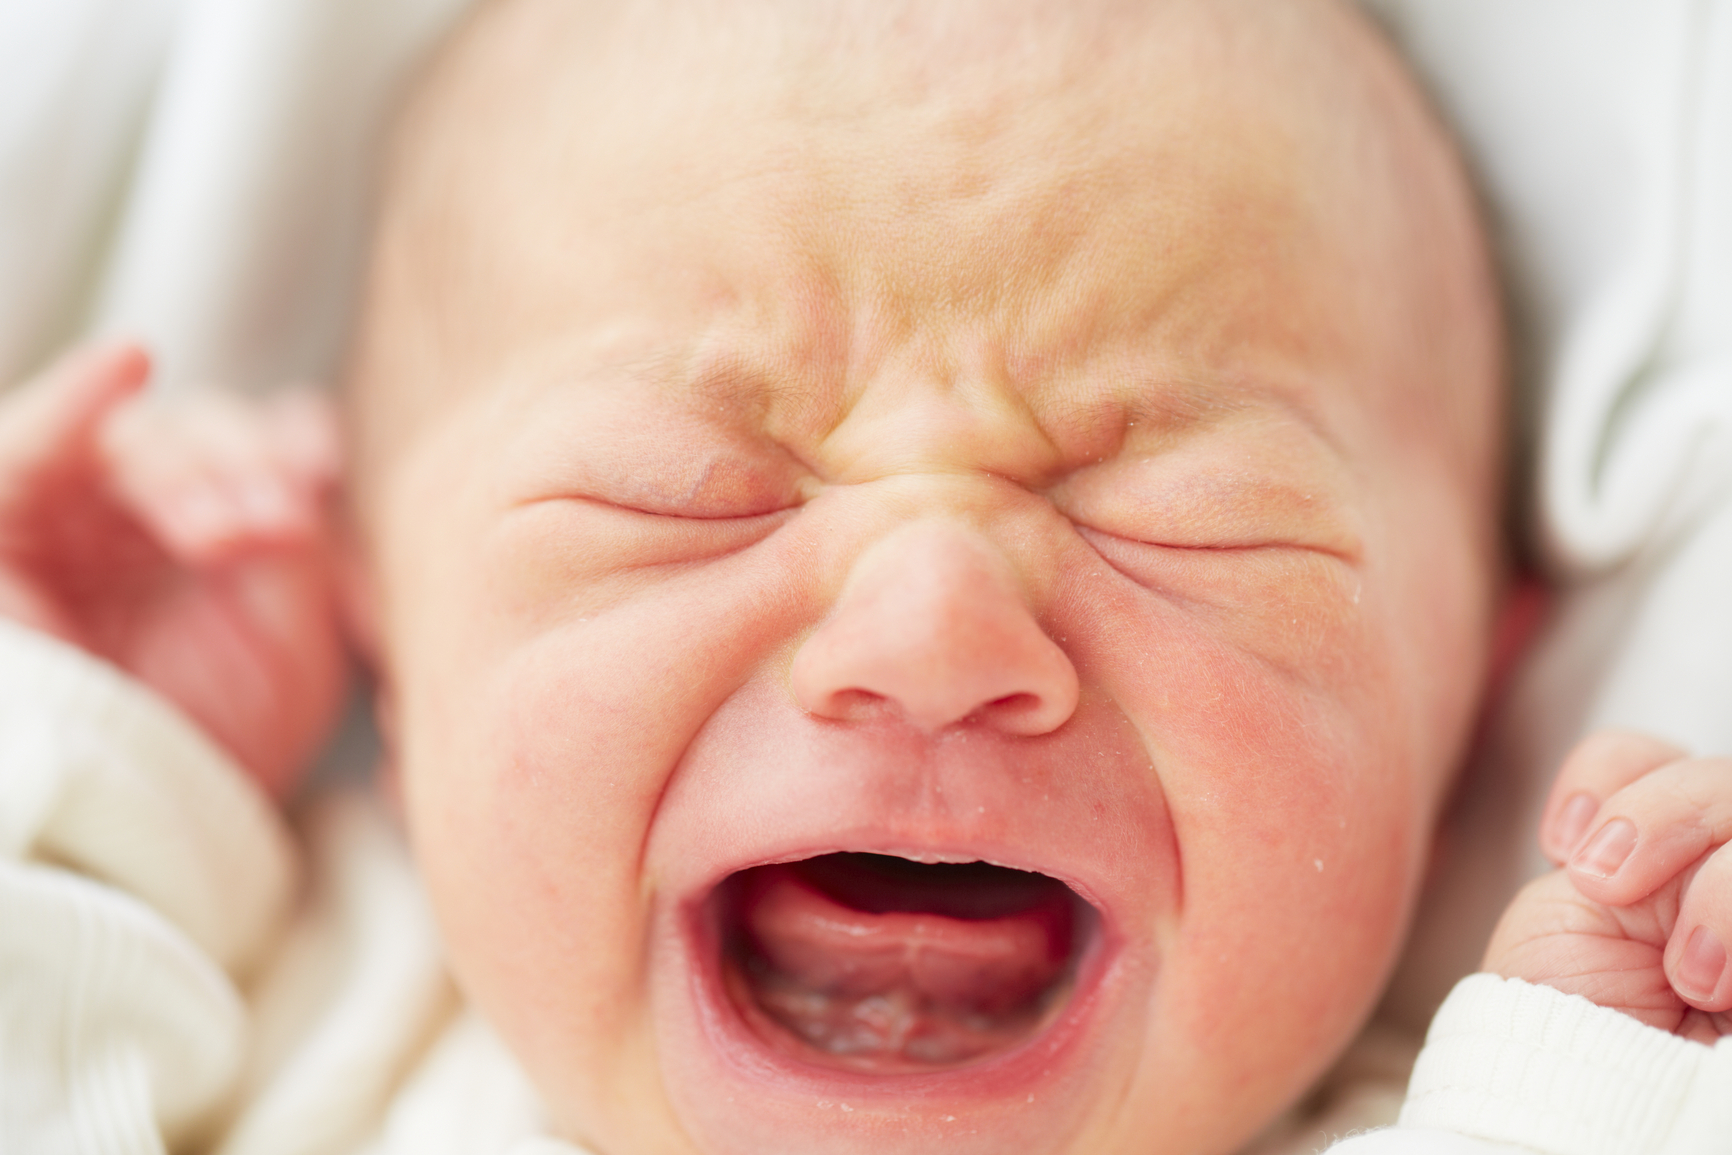
How to Calm a Crying Baby at Night
EDITORIAL
By
James Williams
April 24, 2025
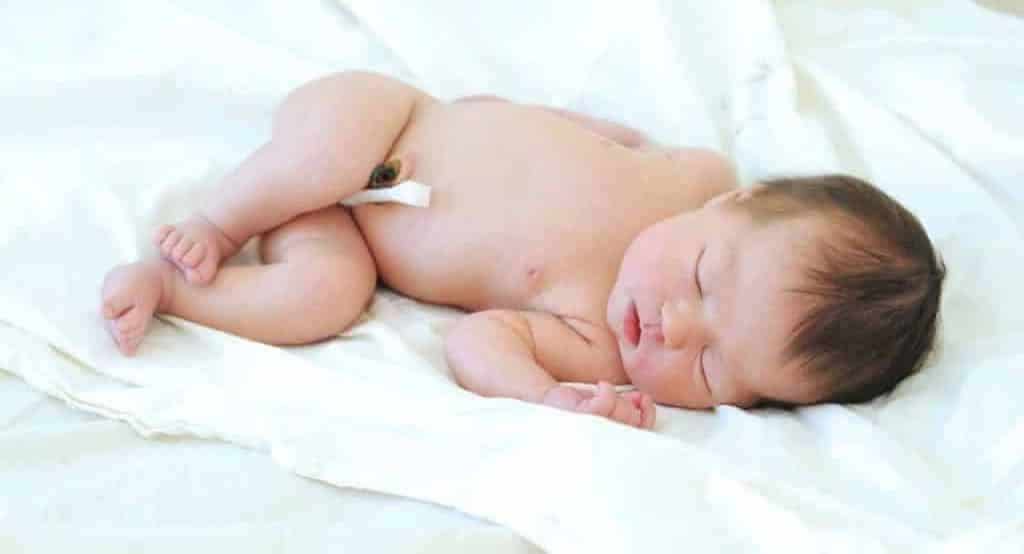
How to Clean a Baby’s Belly Button After the Cord Falls Off
EDITORIAL