Baby Play Gym
Baby Play Gym
Baby Play Gym
What are You Looking for?
Search
Blog
BUSINESS
Crypto
EDITORIAL
ENTERTAINMENT
HEALTH
Home
TECH
Home
EDITORIAL
Page 4
EDITORIAL
41 posts
By
Mary Woods
April 17, 2025
How to Stimulate a Baby’s Brain Development at Home
EDITORIAL
By
Lucas Smith
April 11, 2025
How to transition baby from bottle to sippy cup
EDITORIAL
HEALTH
By
James Williams
April 9, 2025
How to swaddle a baby with a blanket
EDITORIAL
By
Lucas Smith
April 6, 2025
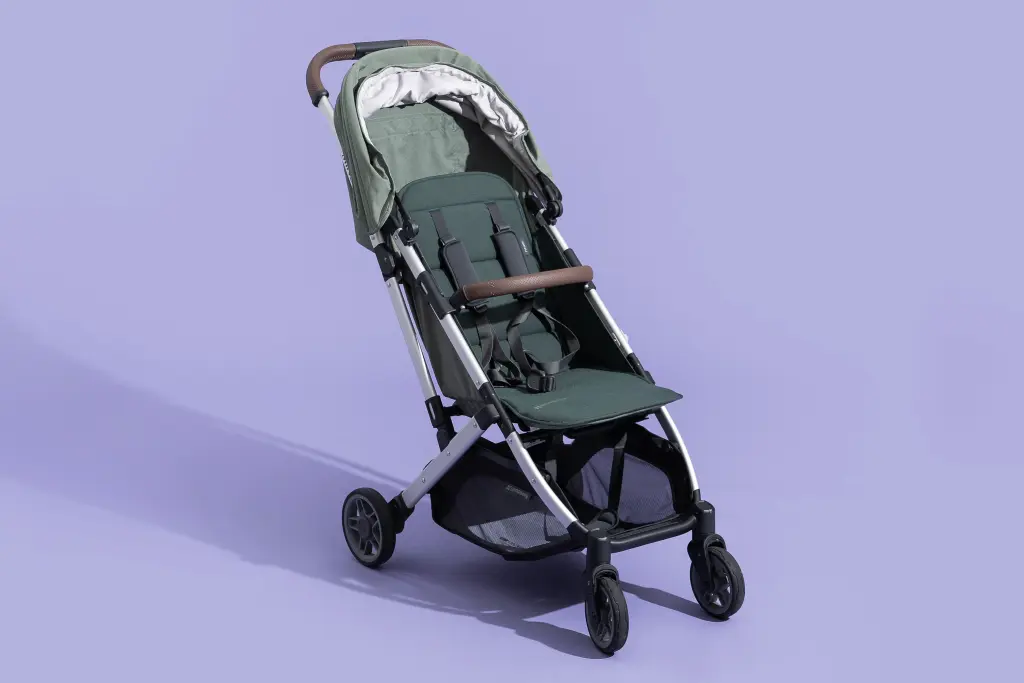
How to choose the best baby stroller for travel
EDITORIAL
By
James Williams
April 5, 2025
How to make homemade baby food
EDITORIAL
By
Mary Woods
April 3, 2025
How to burp a baby properly after feeding
EDITORIAL
By
Benjamin Noah
April 2, 2025
How to know if your baby is teething
EDITORIAL
By
Lucas Smith
March 31, 2025
How to take care of a newborn baby at home
EDITORIAL
HEALTH
By
Mary Woods
March 31, 2025
How to get your child to sleep through the night
EDITORIAL
HEALTH
By
Lucas Smith
March 29, 2023
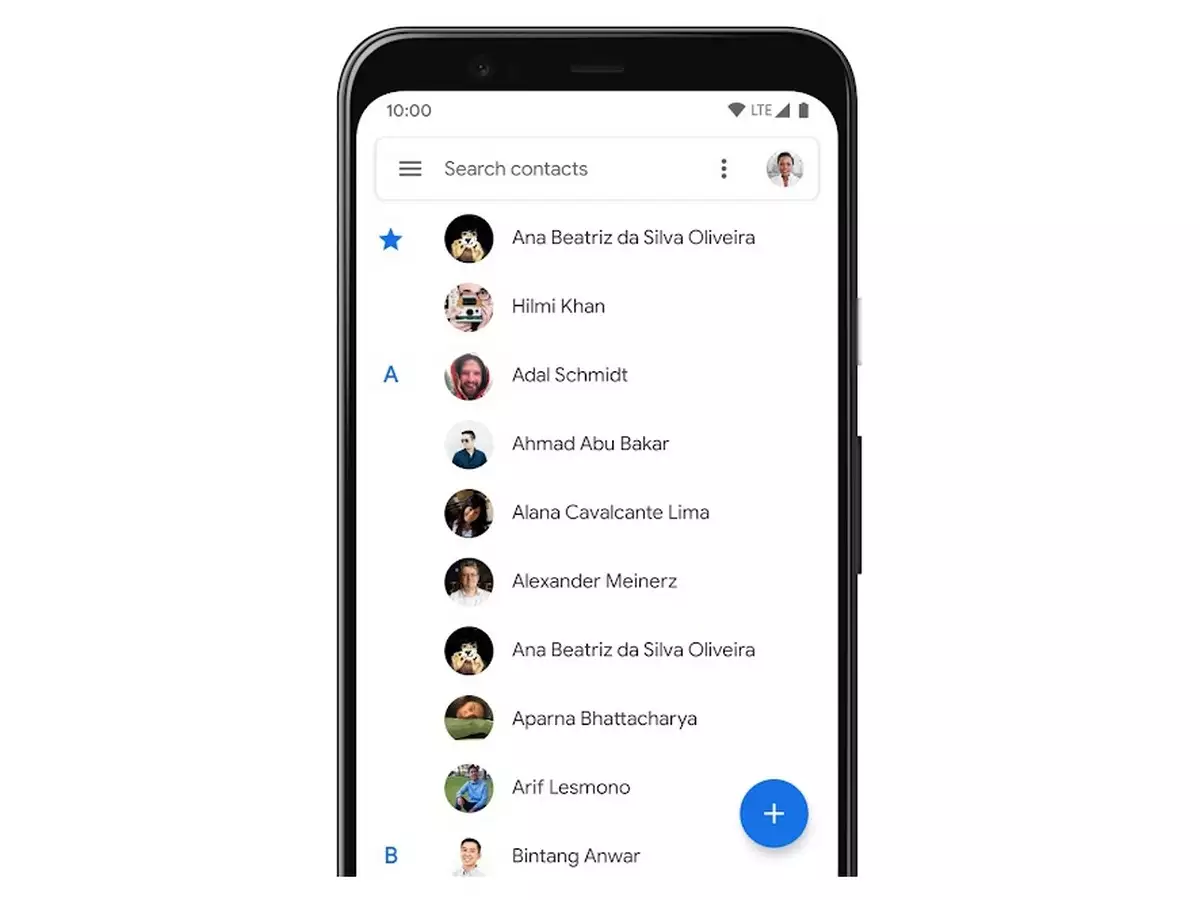
Top 5 Ways to Recover Deleted Phone Numbers on Android
EDITORIAL