Benjamin Noah, a graduate in Pediatrics from Harvard Medical School, has more than 15 years of experience working as a pediatrician and child health advisor. He founded Baby Play Gym in 2015 to provide parents with reliable information about baby care and play. His expertise includes infant wellness, safe toy selection, and early childhood development. He has been recognized by the American Academy of Pediatrics for his contributions to parenting education. Outside work, Benjamin enjoys writing, hiking with his family, and supporting local parenting groups. At Baby Play Gym, he leads the editorial vision and ensures the website maintains expert-backed credibility.
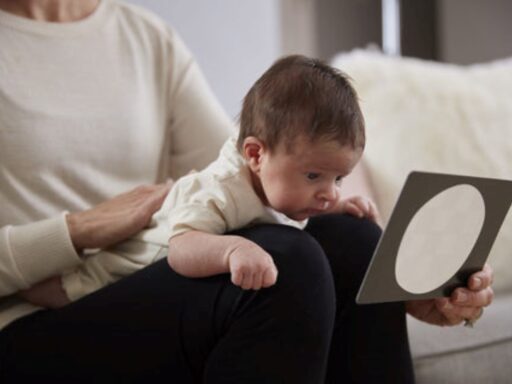
Master tummy time in the digital age with our step-by-step guide. Use smart tools and high-contrast apps to stop the fussing and boost your baby’s development.
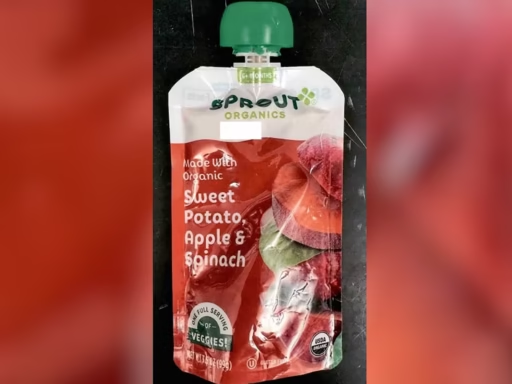
WanaBana, Schnucks, and Weis recall cinnamon applesauce pouches sold in 28 states due to dangerous lead levels. Learn the health risks and what parents should do.
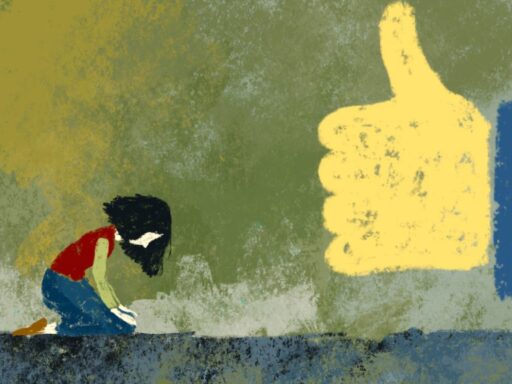
This article explores the common but often undiscussed mental health challenges new parents face in the US, including postpartum depression and anxiety.
Child care advocates grapple with a new challenge: public and political belief that recent funding has solved all issues, leaving deeper problems ignored.
Discover natural, step-by-step methods to soothe your colicky baby at night. Learn practical tips for comforting, feeding, and creating a calm environment.
Learn how to choose a safe baby crib and mattress with this essential guide. Understand crucial safety standards, what to avoid, and key features for your baby's safe sleep.