Benjamin Noah, a graduate in Pediatrics from Harvard Medical School, has more than 15 years of experience working as a pediatrician and child health advisor. He founded Baby Play Gym in 2015 to provide parents with reliable information about baby care and play. His expertise includes infant wellness, safe toy selection, and early childhood development. He has been recognized by the American Academy of Pediatrics for his contributions to parenting education. Outside work, Benjamin enjoys writing, hiking with his family, and supporting local parenting groups. At Baby Play Gym, he leads the editorial vision and ensures the website maintains expert-backed credibility.
Learn how to check if your baby has a fever without a thermometer using simple signs, behavior cues, and home methods for safe and effective monitoring.
Cutting your baby’s nails safely in April 2025 requires patience, the right tools, and a gentle approach. By following these steps and finding a technique that works best for you and your baby, you can keep those little nails trimmed without any tears.
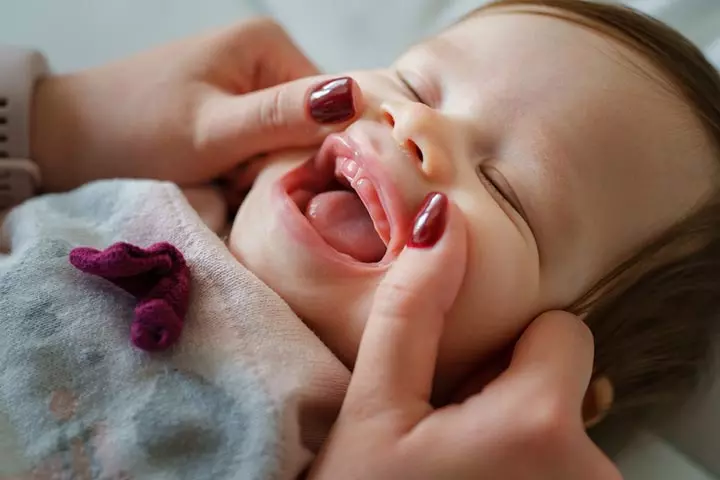
Knowing if your baby is teething in April 2025 involves careful observation of their behavior and physical signs, keeping in mind the typical teething timeline and ruling out other potential causes like illness. By following these steps, you can better understand what your little one is going through and provide them with the comfort and care they need during this developmental milestone.