Lucas Smith, a graduate in Early Childhood Education from Stanford University, brings 10 years of experience in evaluating and researching baby products. His expertise lies in toy safety, play-based learning, and cognitive development. Lucas has collaborated with several baby product brands and has been recognized for his safety research by the U.S. Consumer Product Safety Commission. Outside his professional work, he enjoys photography, cycling, and volunteering at children’s museums. At Baby Play Gym, Lucas is responsible for reviewing toys, analyzing baby play gyms, and recommending safe and educational playtime options.
Discover effective, easy ways to stimulate your newborn's brain development at home. Learn about essential activities, sensory play, and creating a nurturing environment.
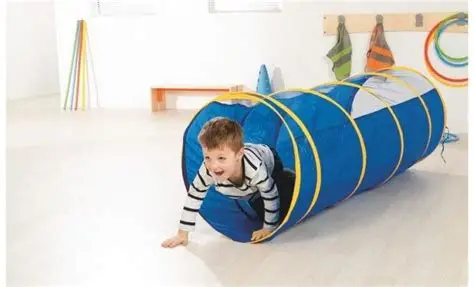
Discover how to effectively introduce age-appropriate toys to foster your child's gross and fine motor skill development, promoting physical growth and coordination.
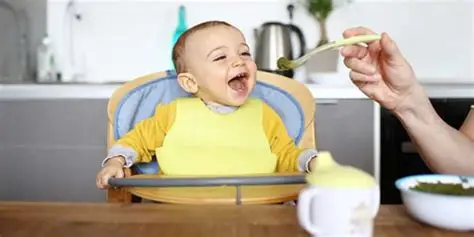
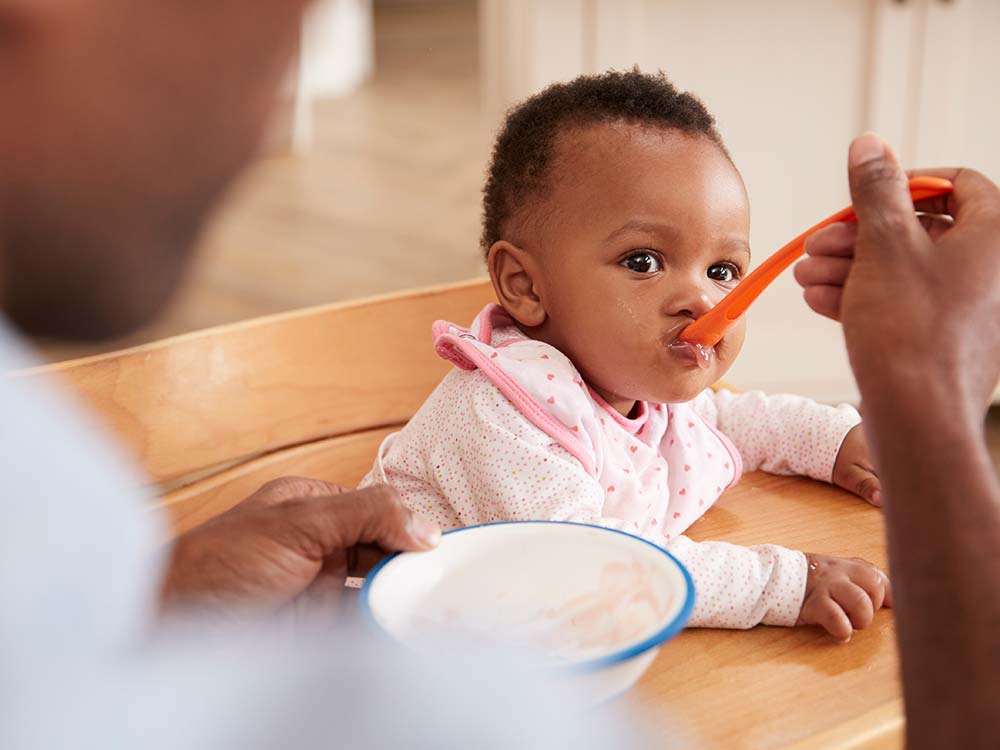
A step-by-step guide on how to safely introduce solid foods to your baby. Learn about readiness signs, first foods, feeding methods, and allergy prevention.
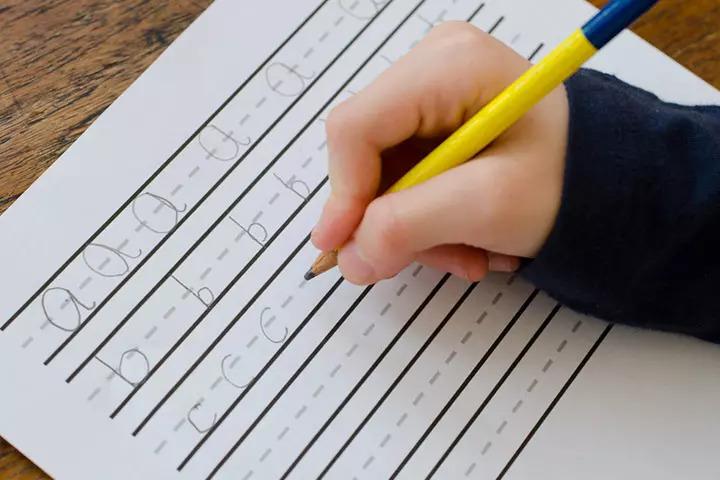
Learn how to improve handwriting for kids with this step-by-step guide. Master fine motor skills, proper grasp, letter formation, and practice tips for legible penmanship.
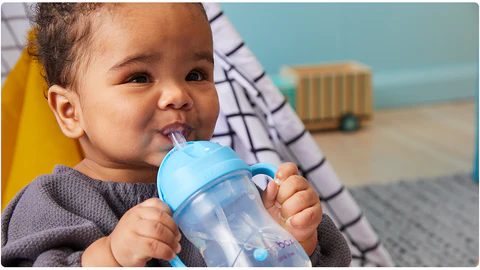
Transitioning your baby from a bottle to a sippy cup in April 2025 is a significant developmental milestone. By following these steps with patience and consistency, you can help your little one learn this new skill and move towards more independent drinking.
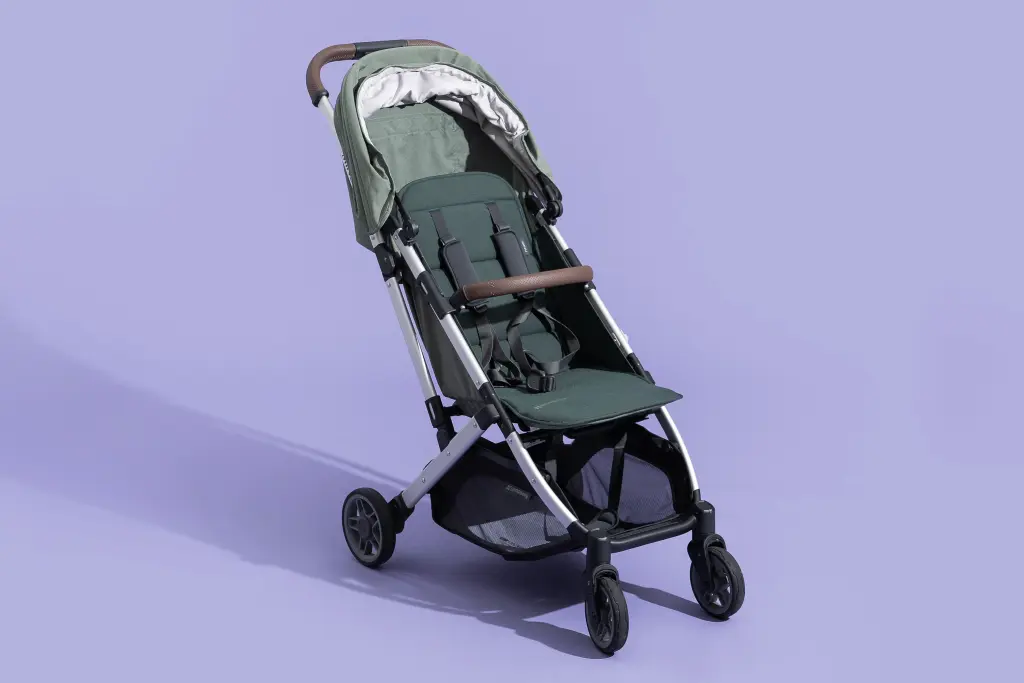
Choosing the best travel stroller in April 2025 involves carefully considering your travel style, your baby's needs, and the essential features that will make your trips easier and more enjoyable. By following these steps, you can find the perfect stroller to accompany you on your adventures.
Learn how to take care of a newborn baby at home with this detailed guide. Covers feeding, sleeping, diapering, bathing, safety, and parental well-being.