Baby Play Gym
Baby Play Gym
Baby Play Gym
What are You Looking for?
Search
Blog
BUSINESS
Crypto
EDITORIAL
ENTERTAINMENT
HEALTH
Home
TECH
Home
HEALTH
HEALTH
26 posts
By
James Williams
July 2, 2025
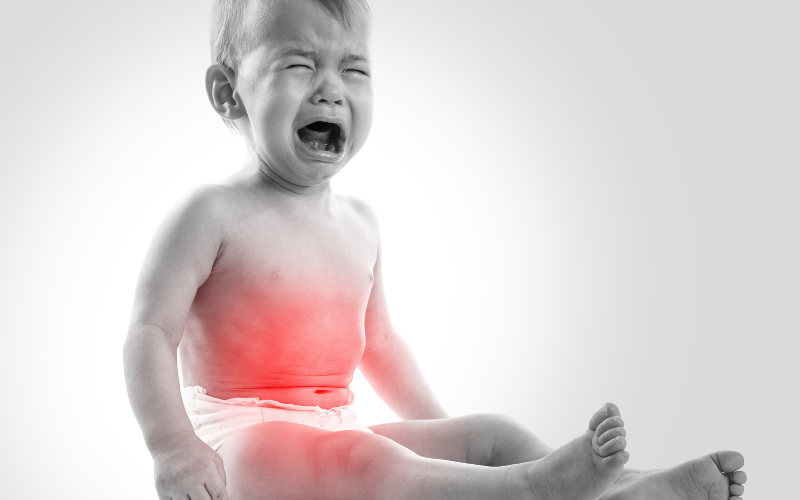
How to Relieve Baby Gas and Colic Pain
HEALTH
By
Benjamin Noah
June 11, 2025
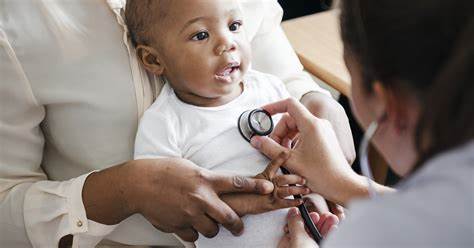
How to keep Baby Health in Check
HEALTH
By
Benjamin Noah
May 12, 2025
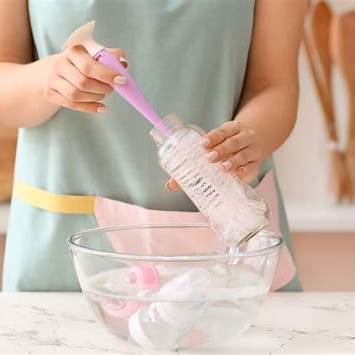
How to Clean Baby Bottles Without a Sterilizer
HEALTH
By
James Williams
April 17, 2025
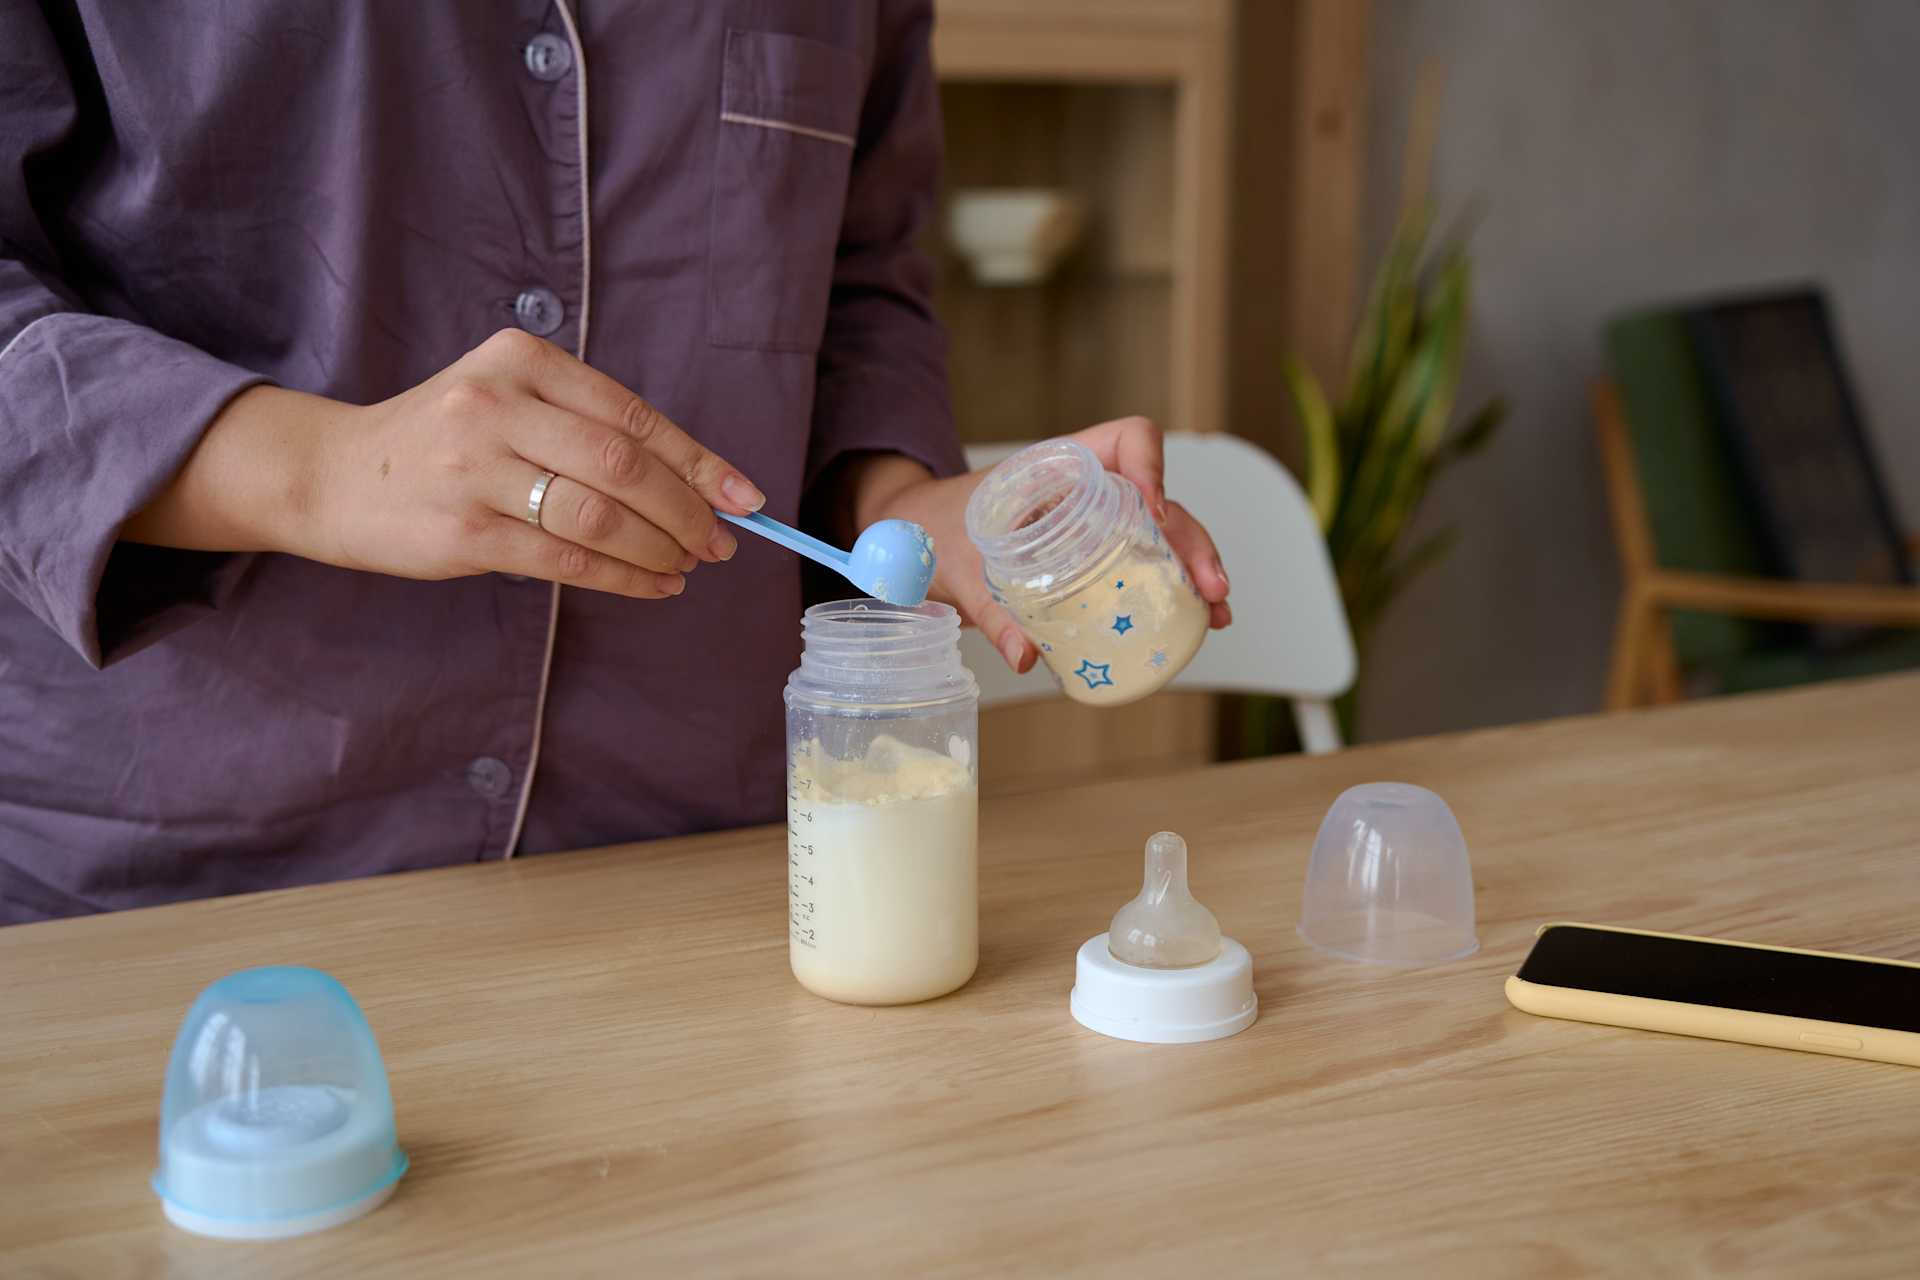
How to Prepare Formula Milk for Newborns
HEALTH
By
James Williams
April 16, 2025
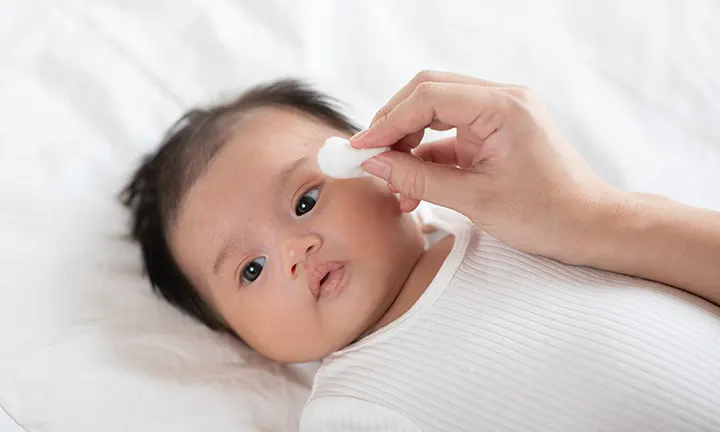
How to Clean a Baby’s Ears Safely
HEALTH
By
Lucas Smith
April 11, 2025
How to transition baby from bottle to sippy cup
EDITORIAL
HEALTH
By
Lucas Smith
March 31, 2025
How to take care of a newborn baby at home
EDITORIAL
HEALTH
By
Mary Woods
March 31, 2025
How to get your child to sleep through the night
EDITORIAL
HEALTH
By
Lucas Smith
February 25, 2025
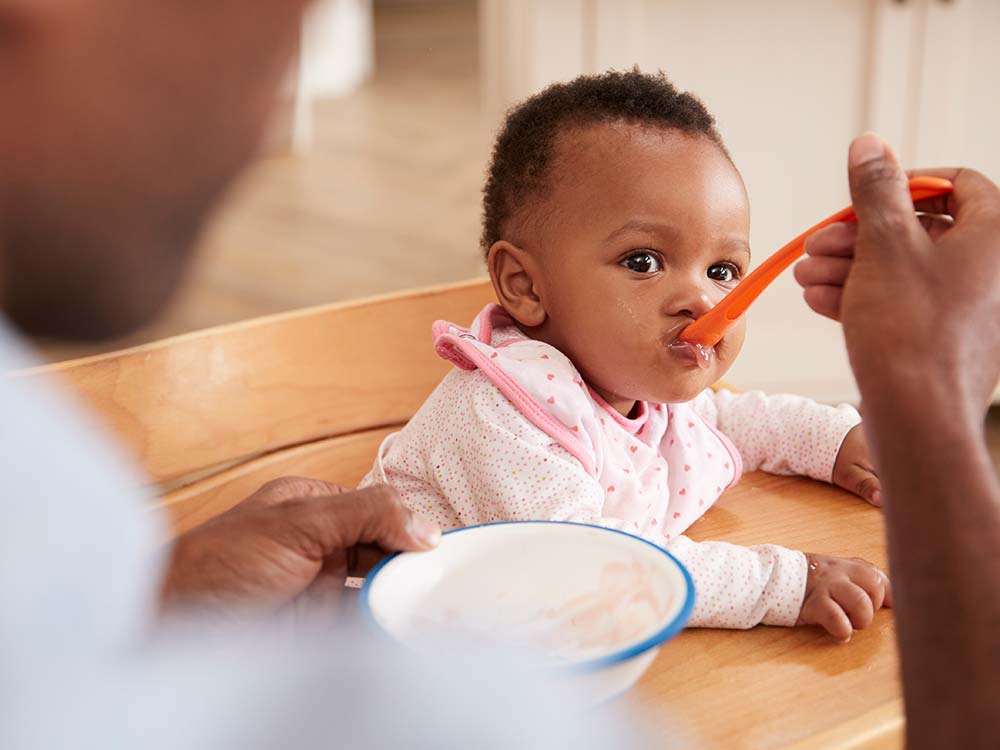
How to Introduce Food to a 6-Month-Old
Blog
HEALTH
Home
By
Benjamin Noah
November 7, 2020
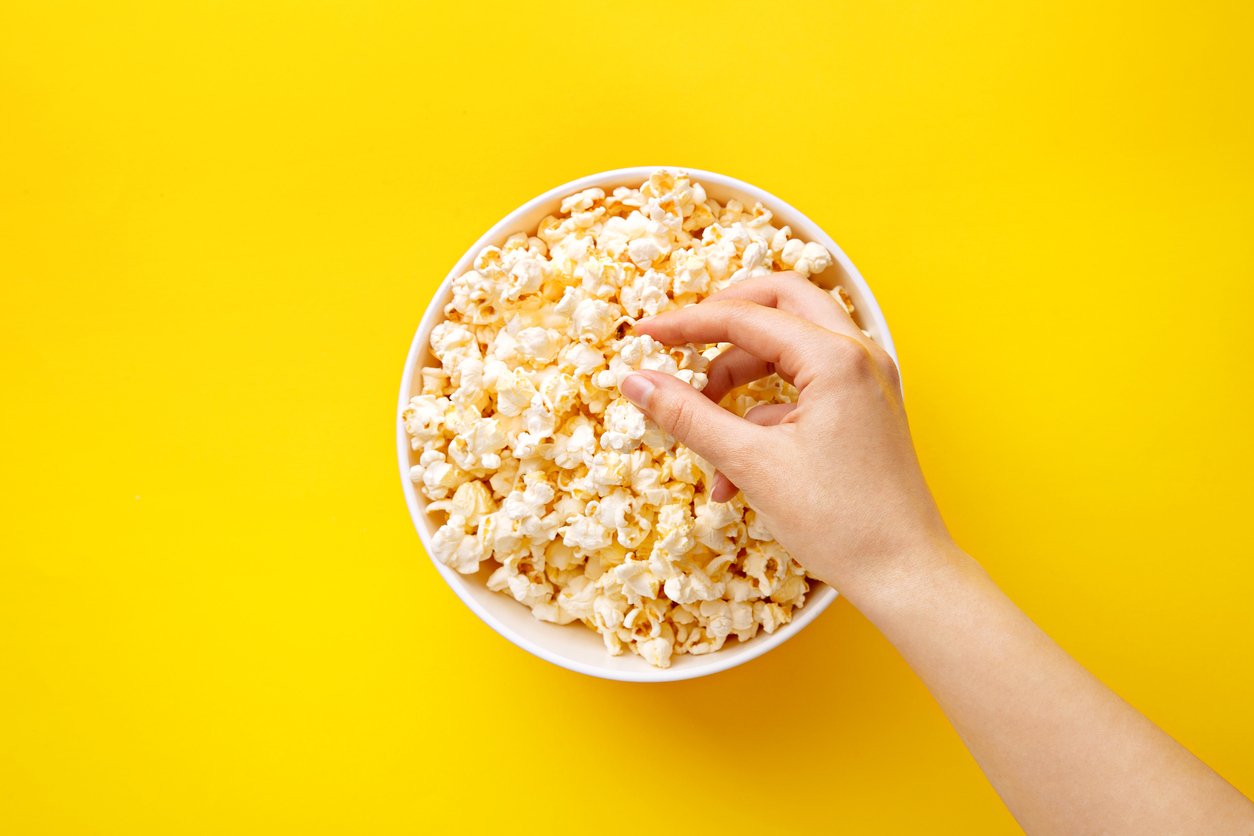
Top 10 Foods That Burn Belly Fat
HEALTH