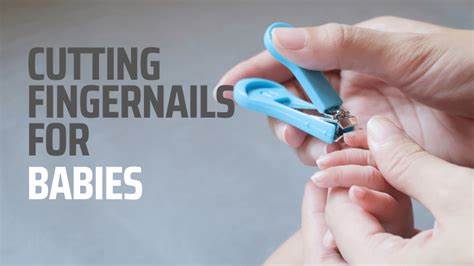
Learn how to trim baby nails safely and easily without nicks or tears. Discover effective tools, timing tips, and step-by-step guidance for stress-free nail care.
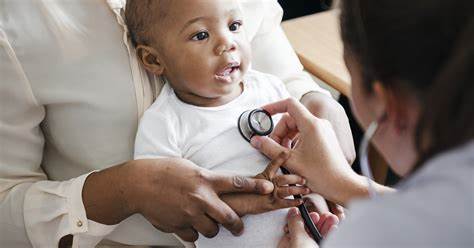
Learn how to keep your baby's health in check with this comprehensive guide. Discover essential tips for routine care, recognizing illness, and ensuring well-being.
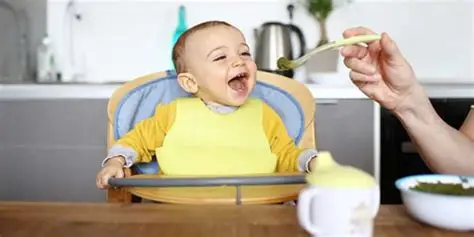
A step-by-step guide on how to safely introduce solid foods to your baby. Learn about readiness signs, first foods, feeding methods, and allergy prevention.
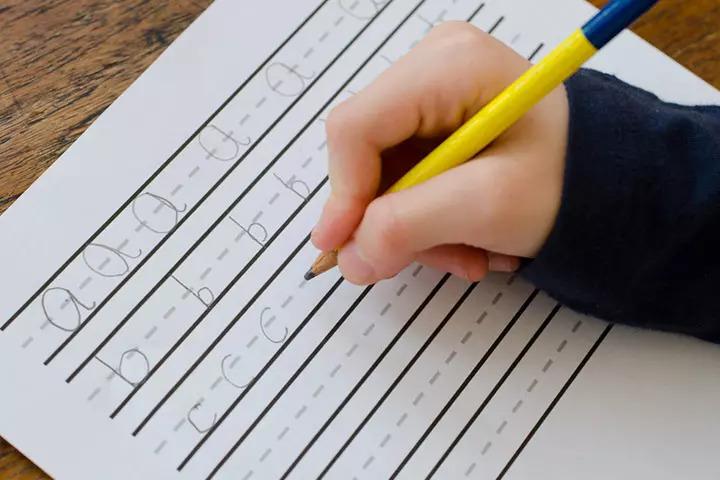
Learn how to improve handwriting for kids with this step-by-step guide. Master fine motor skills, proper grasp, letter formation, and practice tips for legible penmanship.
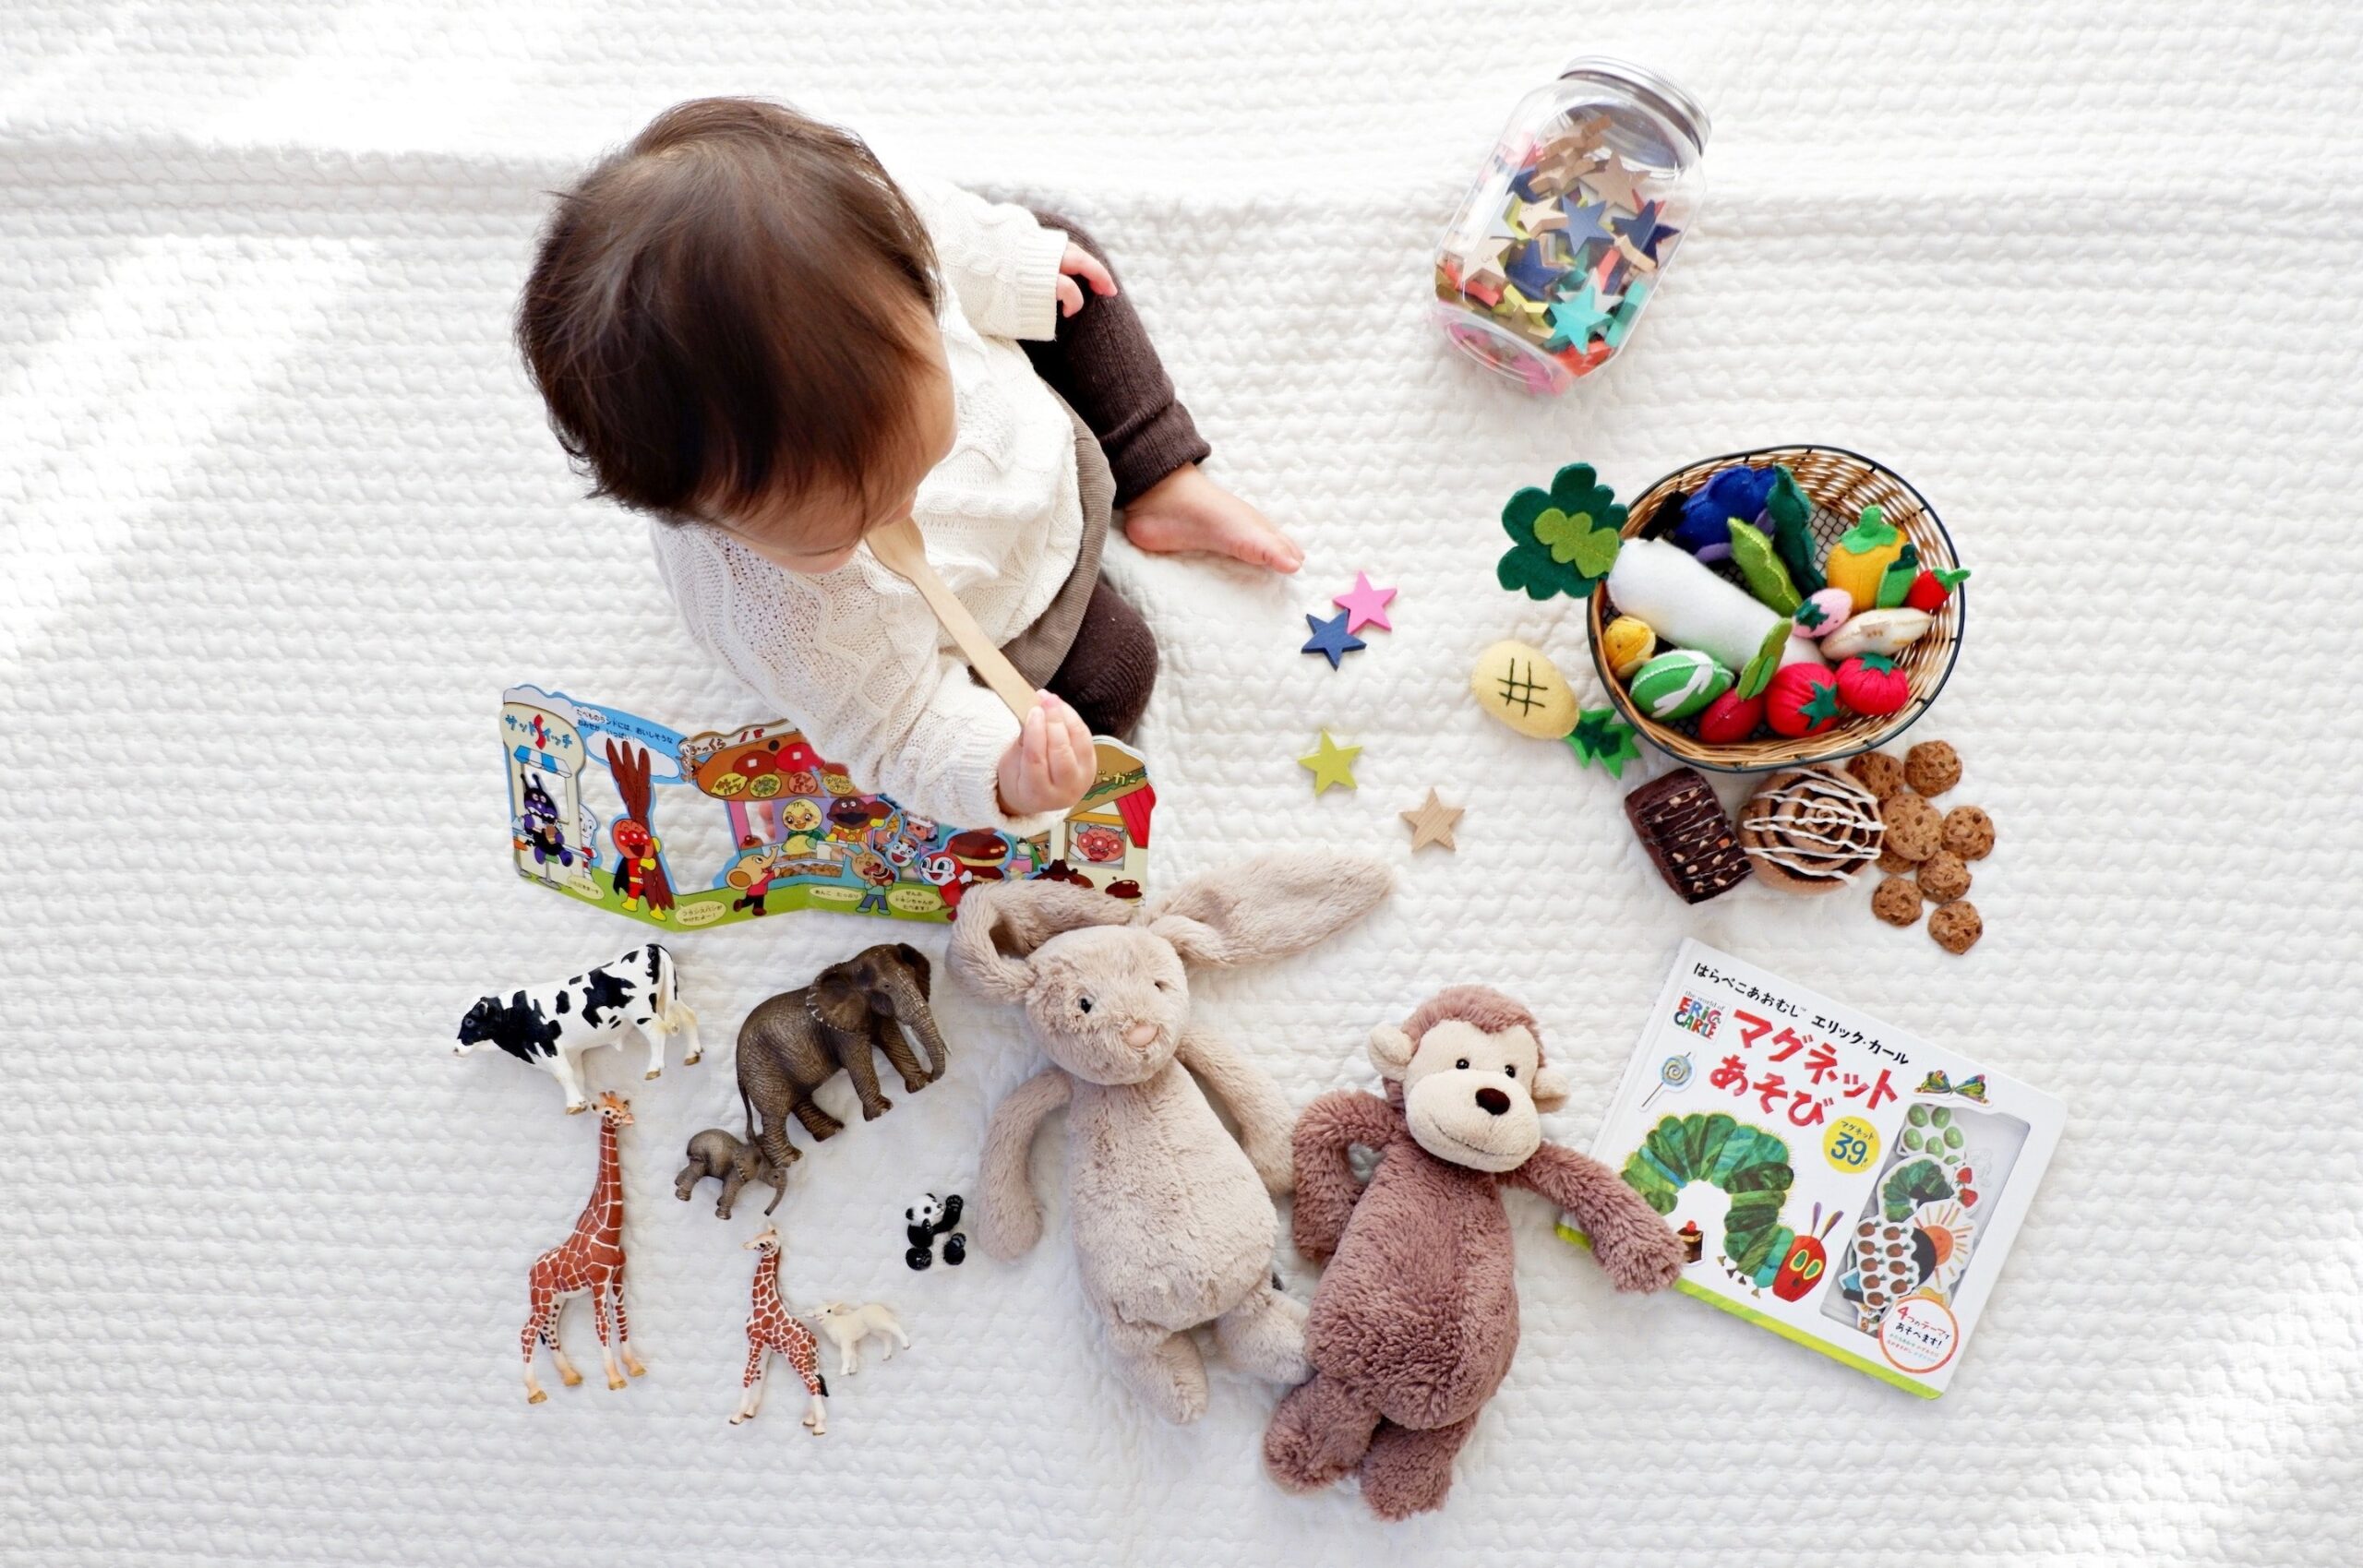
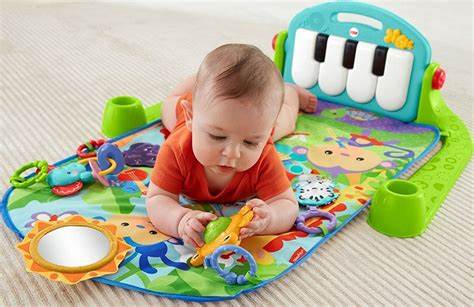
Learn how to play with a baby to boost brain development. Our guide offers age-appropriate activities for newborns to 12-month-olds to build cognitive skills.
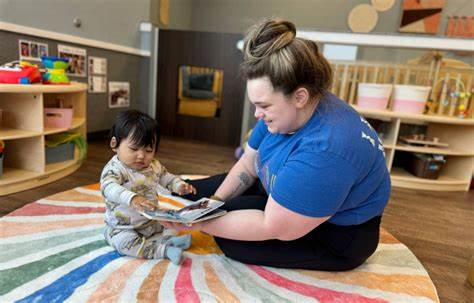
Discover effective, research-backed ways to support your baby's language development from birth through simple daily interactions and engaging activities.